ユーザーデータを設定しApacheをインストールする方法を解説します。
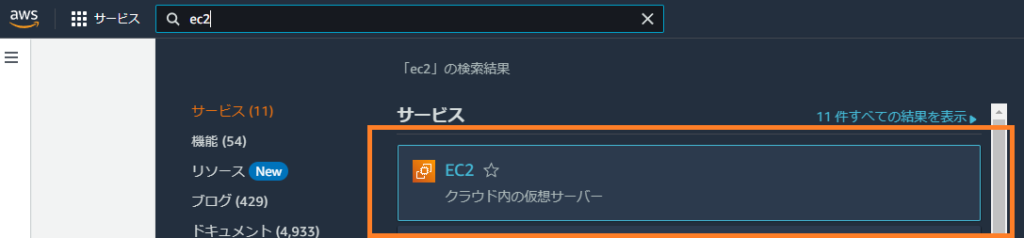
まず、EC2に移動します。
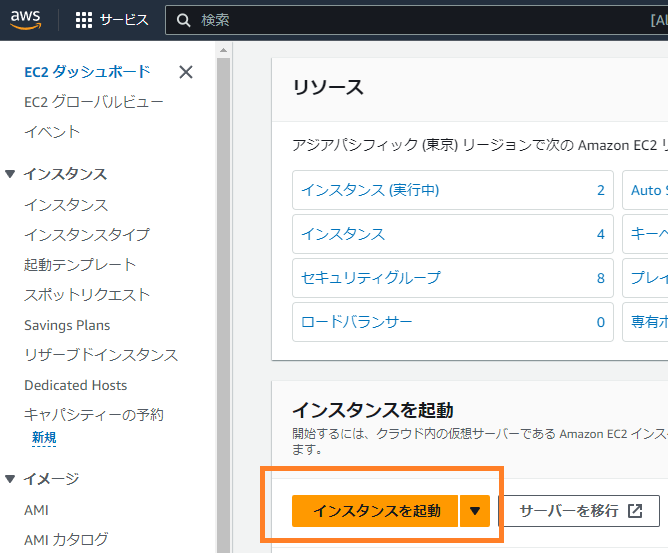
「インスタンスを起動」をクリックします。
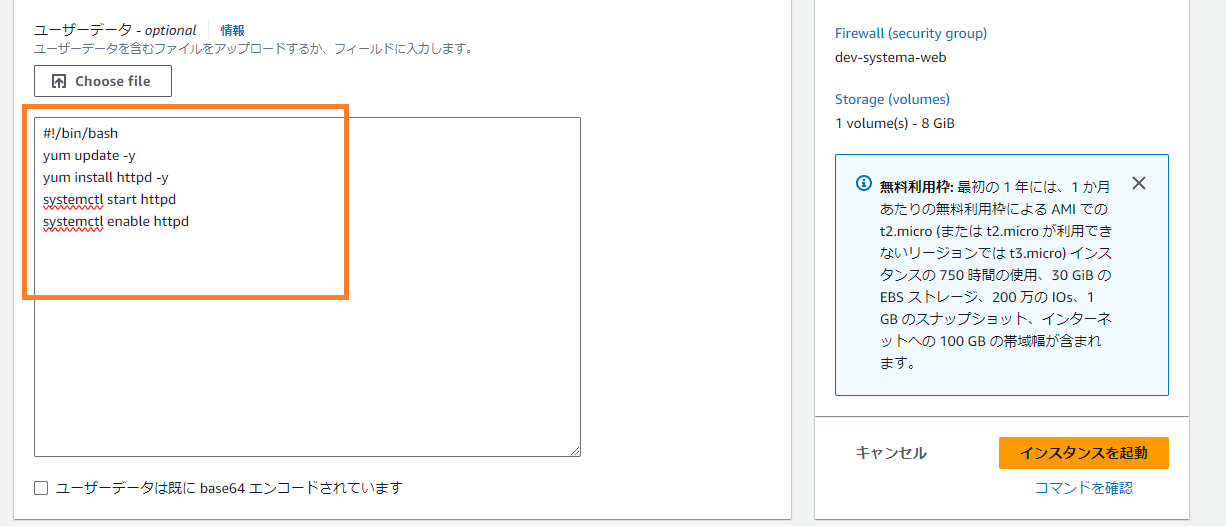
「高度な詳細」→「ユーザーデータ」に以下のコマンドを入力し、インスタンスを起動します。コマンドはApacheをインストール&起動する内容です。
#!/bin/bash
yum update -y
yum install httpd -y
systemctl start httpd
systemctl enable httpd
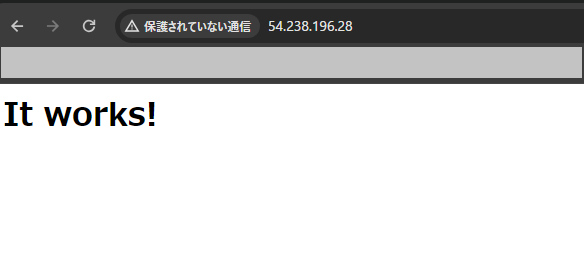
起動したEC2インスタンスのパブリックIPアドレスをブラウザのurl部分に入力しenterを押します。
以下のような画面が表示され、Apacheをインストール&起動できていることが確認できます。
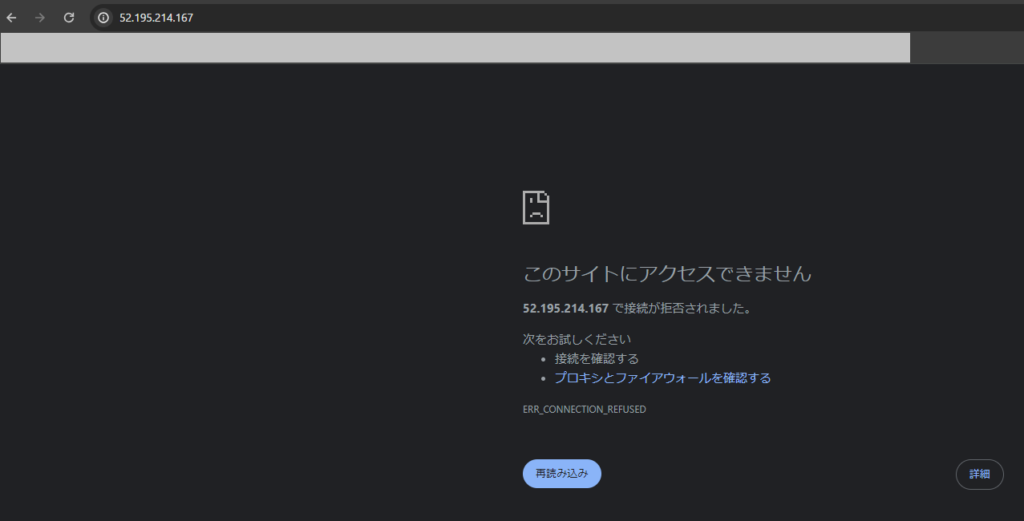
Apacheをインストール&起動できていない場合は、以下のような画面が表示されます。