AWSでSSL/TLSを設定する方法を解説します。
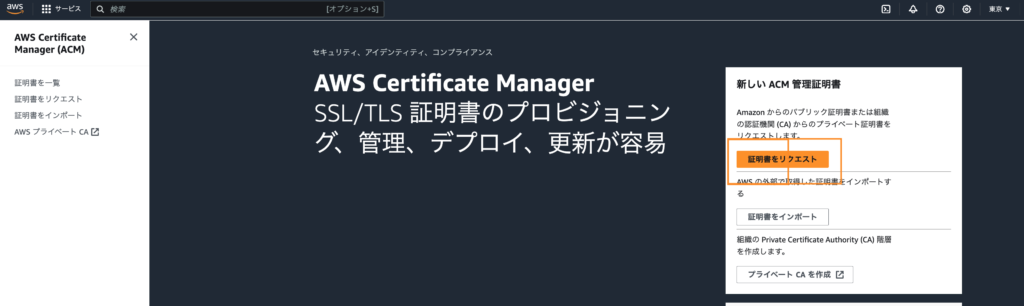
AWS Certificate ManagerでSSL/TLS証明書を作成する
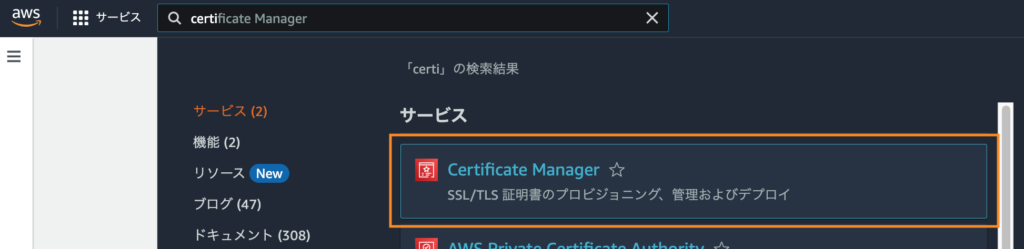
「Certificate Manager」に移動します。
「証明書をリクエスト」をクリックします。
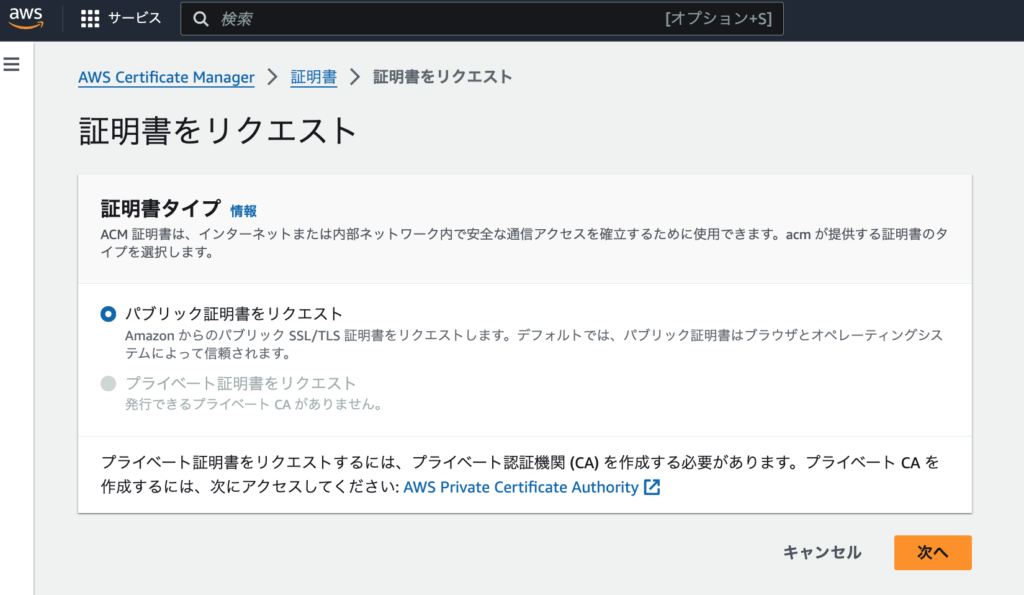
「パブリック証明書をリクエスト」を選択して、「次へ」をクリックします。
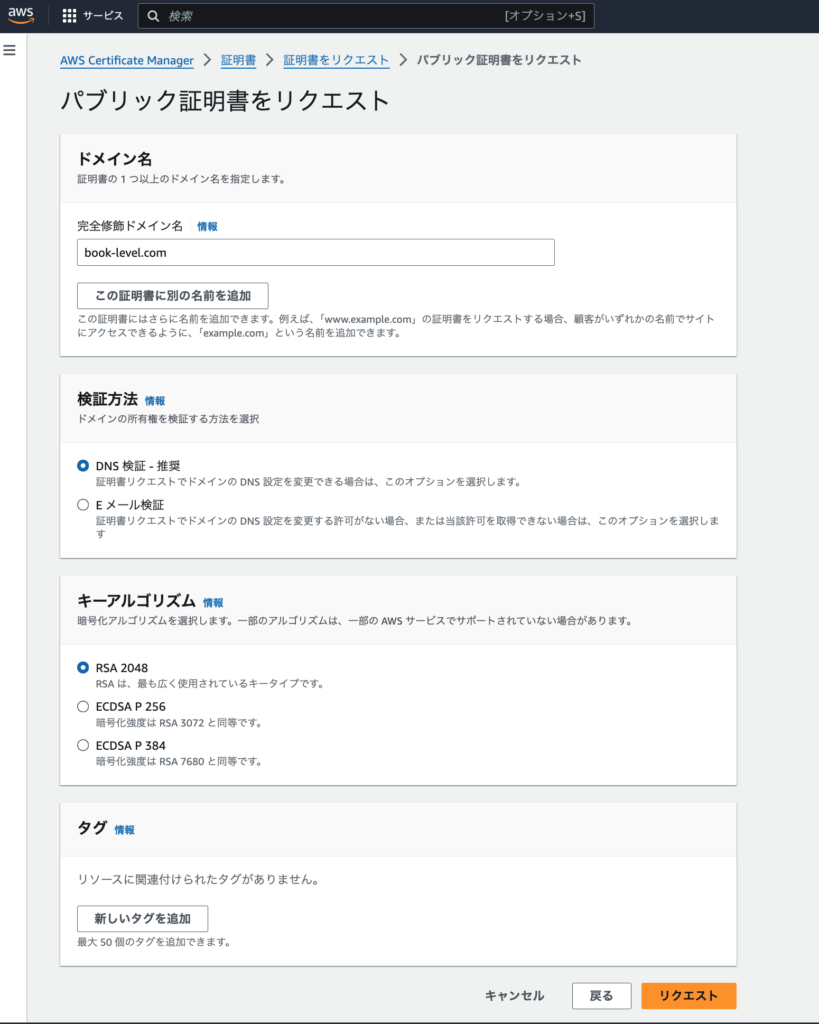
以下のように設定し、「リクエスト」をクリックします。
ドメイン名:取得しているドメイン
検証方法:DNS検証
キーアルゴリズム:RSA 2048
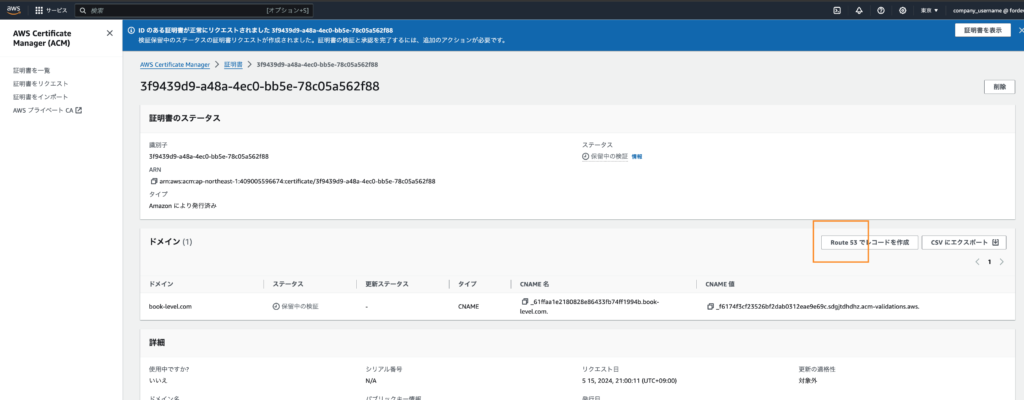
「Route 53でレコードを作成」をクリックします。
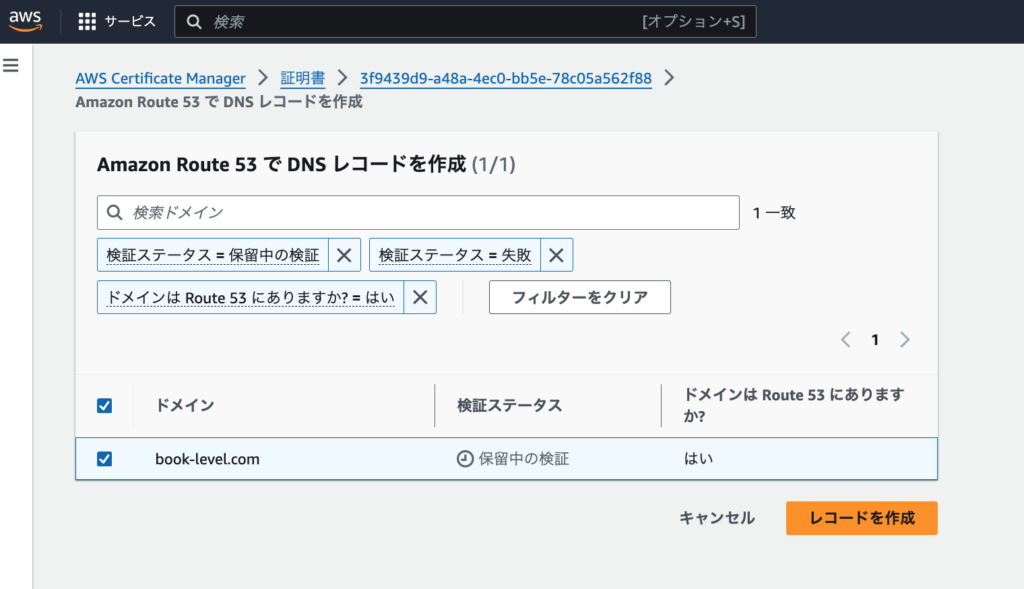
ドメインを選択して、「レコードを作成」をクリックします。
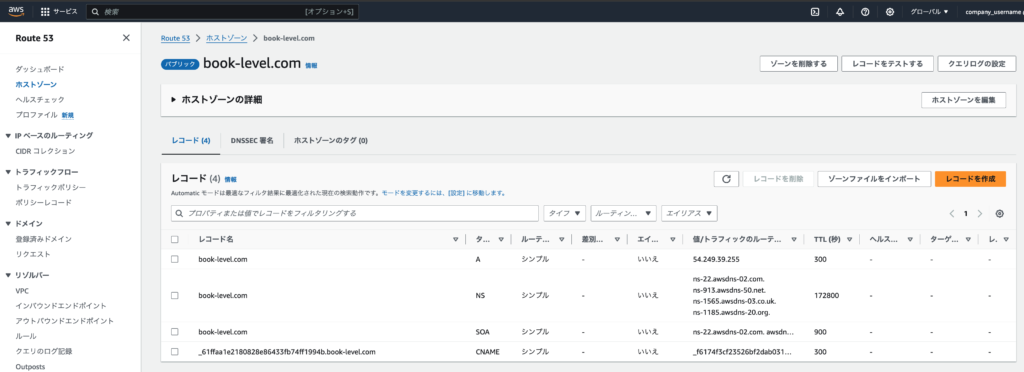
以下のように、タイプ「CNAME」のレコードが作成されました。
「Certificate Manager」>「証明書」に移動します。
ステータスが「発行済み」になっていることを確認します。

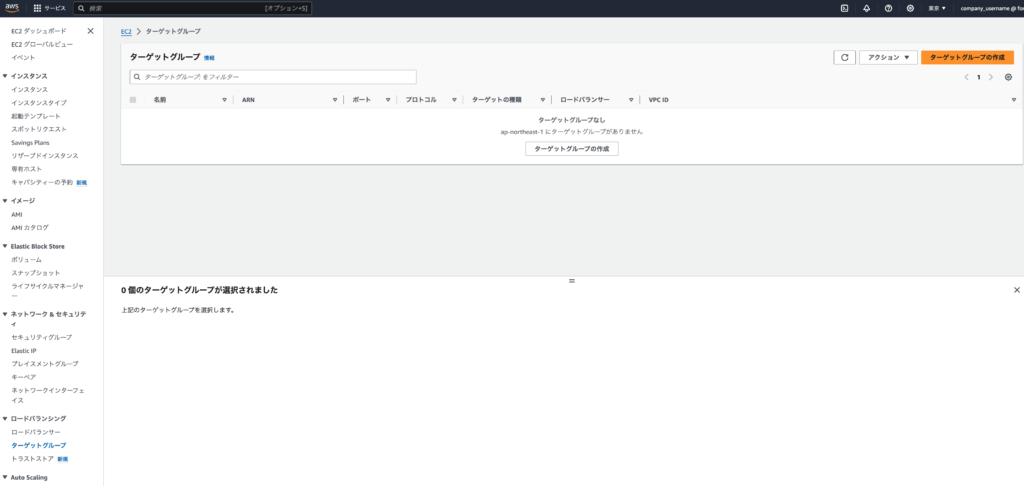
ターゲットグループを作成する(ALB作成前準備)
「EC2」>「ターゲットグループ」に移動し、「ターゲットグループの作成」をクリックします。
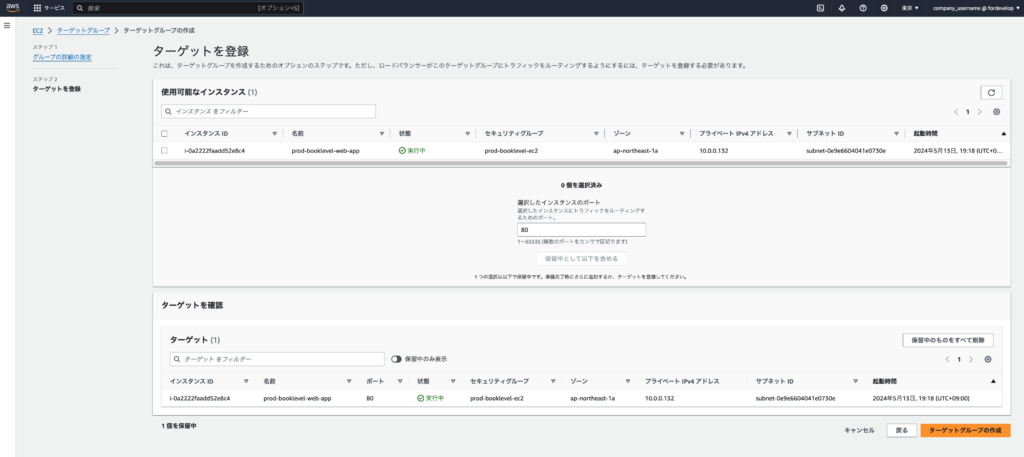
ターゲットグループの設定をします。

使用可能なインスタンスを選択した状態で、「保留中として以下を含める」をクリックすると
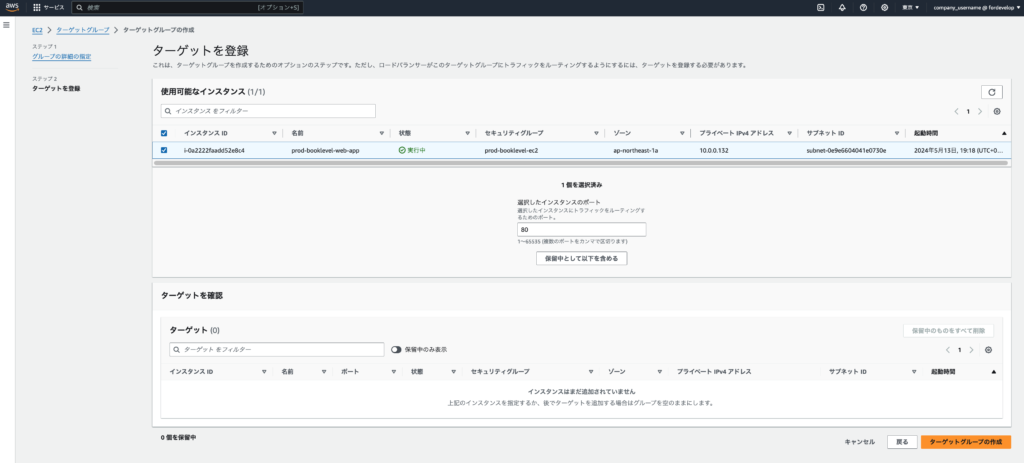
下のターゲットを確認に追加されます。そして「ターゲットグループの作成」をクリックします。
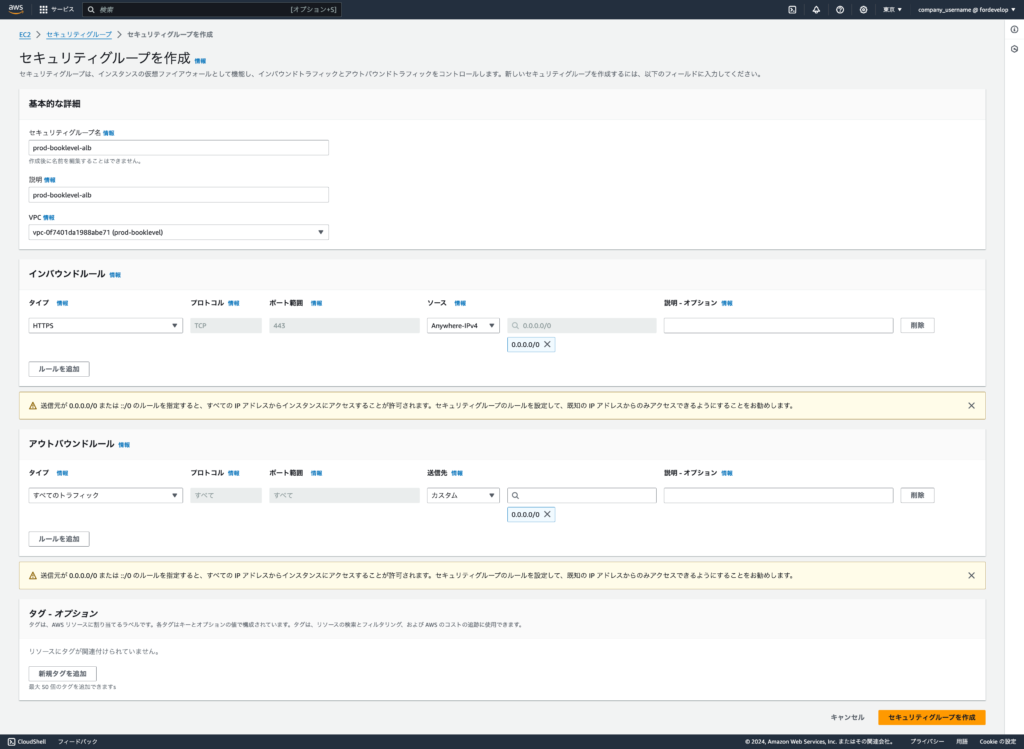
セキュリティグループを作成する(ALB作成前準備)
「セキュリティグループ」に移動し、「セキュリティグループを作成」をクリックします。

インバウンド・アウトバウンドルールを設定して、「セキュリティグループを作成」をクリックします。
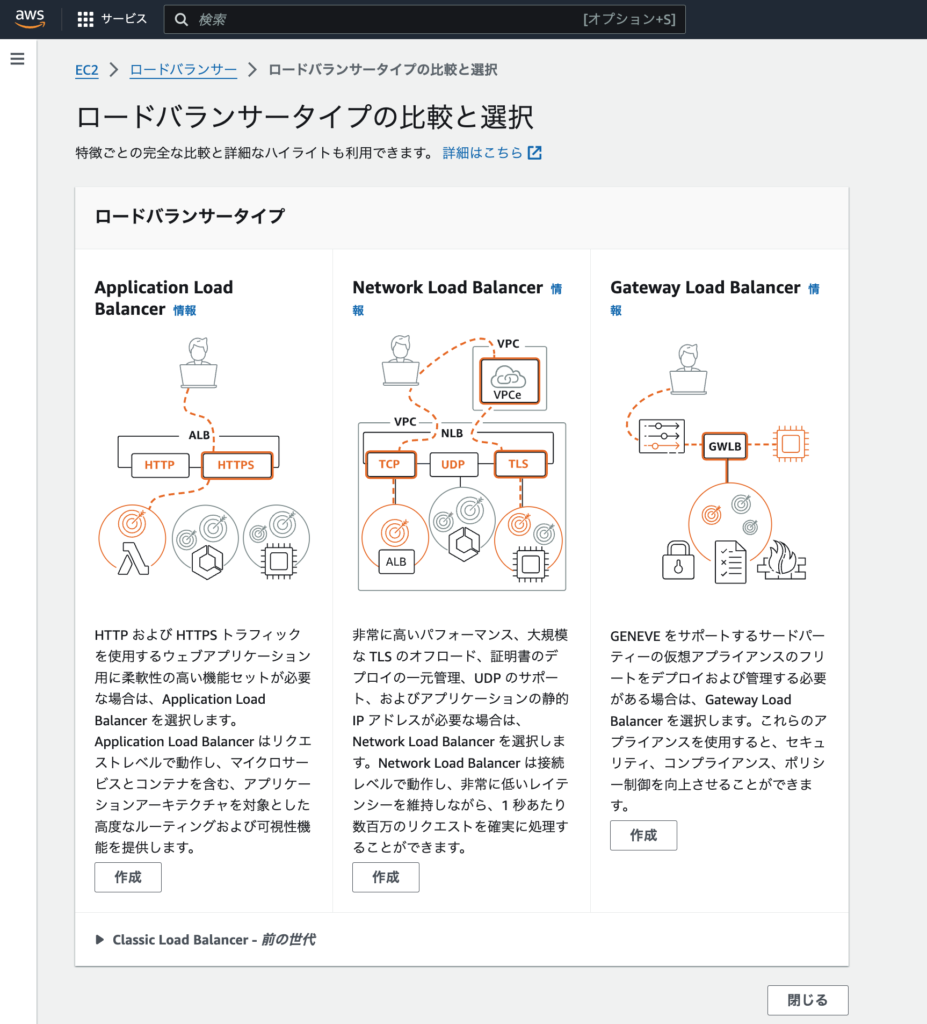
Application Load Balancer(ALB)を作成する
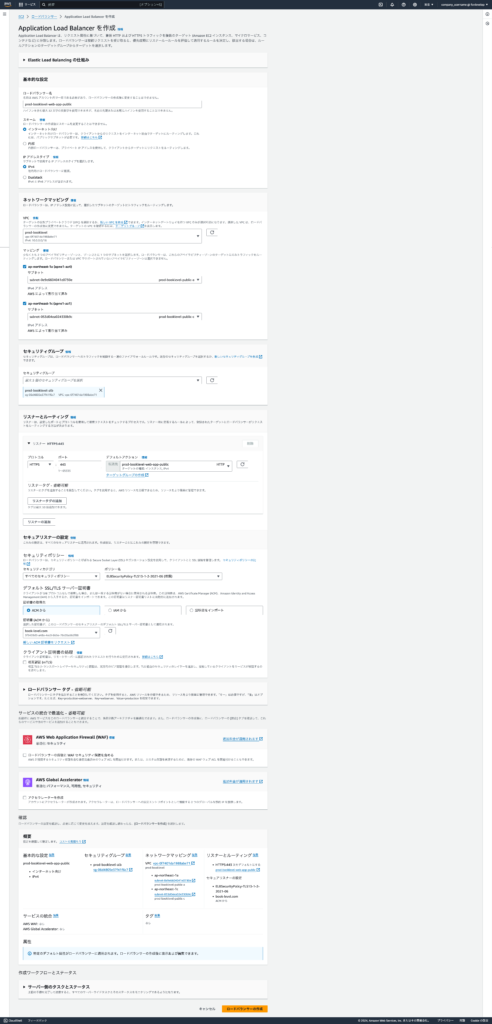
「EC2」>「ロードバランサー」に移動し、「ロードバランサーの作成」をクリックします。

Application Load Balancer(ALB)の「作成」をクリックします。
それぞれ設定して、「ロードバランサーの作成」をクリックします。
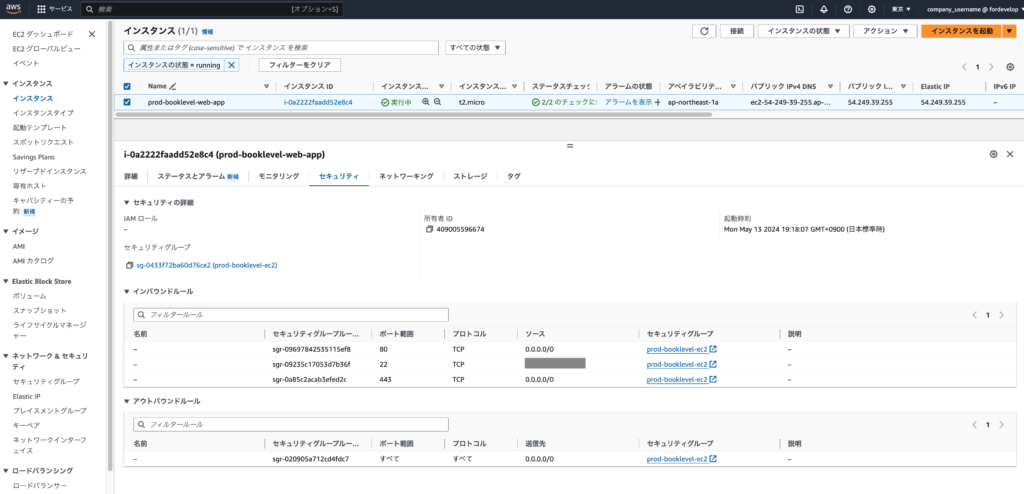
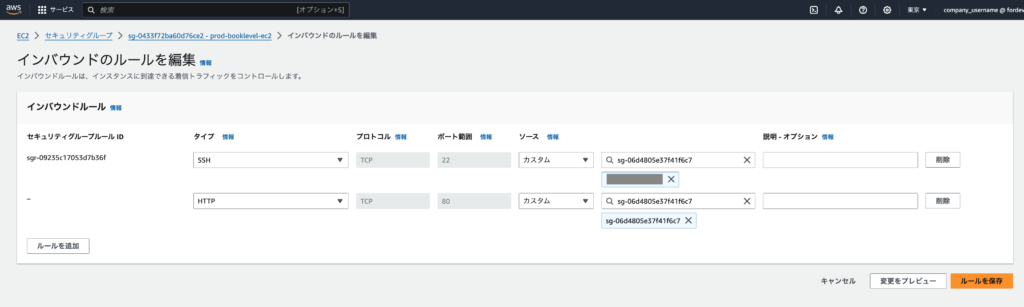
EC2インスタンスのセキュリティグループを編集する
「インスタンス」に移動します。セキュリティグループをクリックします。
「インバウンドルールを編集」をクリックします。
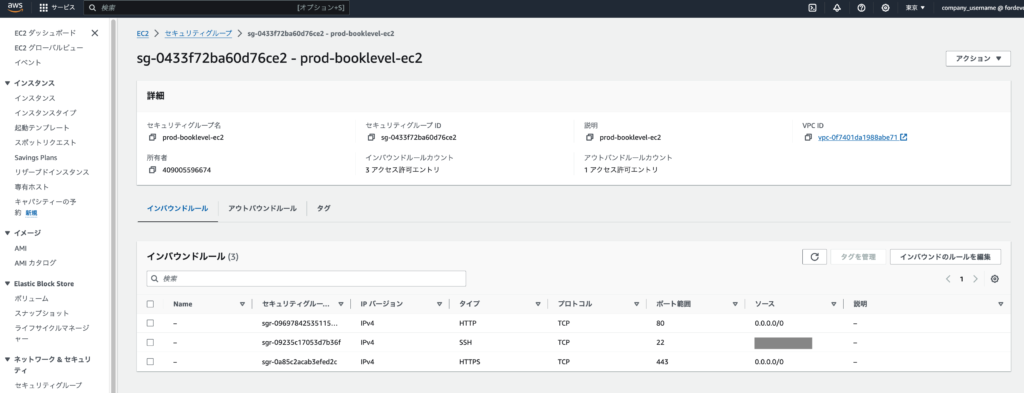
以下のように設定します。
タイプ:HTTP ソース:ALBに設定したセキュリティグループ
クライアントからのトラフィックのルーティング先をALBに変更する
クライアントからのトラフィックのルーティング先を、EC2のパブリックIP(Elastic IPアドレス)からALBへ変更していきます。
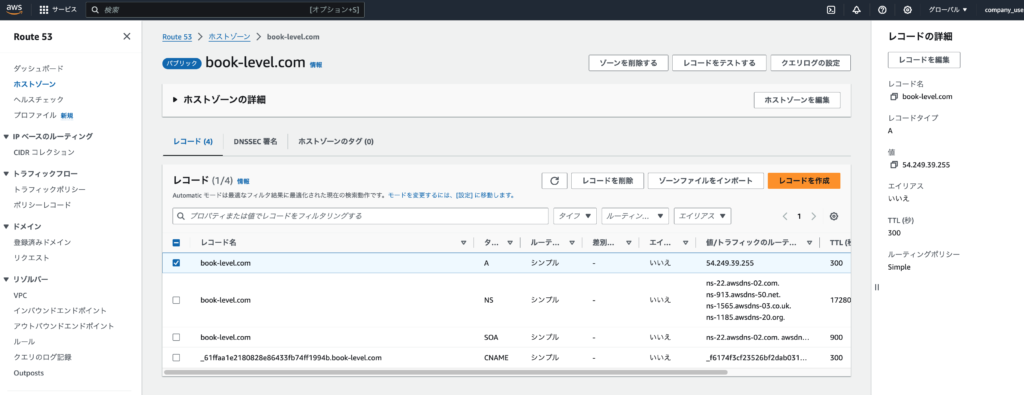
「Route 53」>「ホストゾーン」>「ドメイン名」に移動します。
タイプAのレコードを選択し、「レコードを編集」をクリックします。
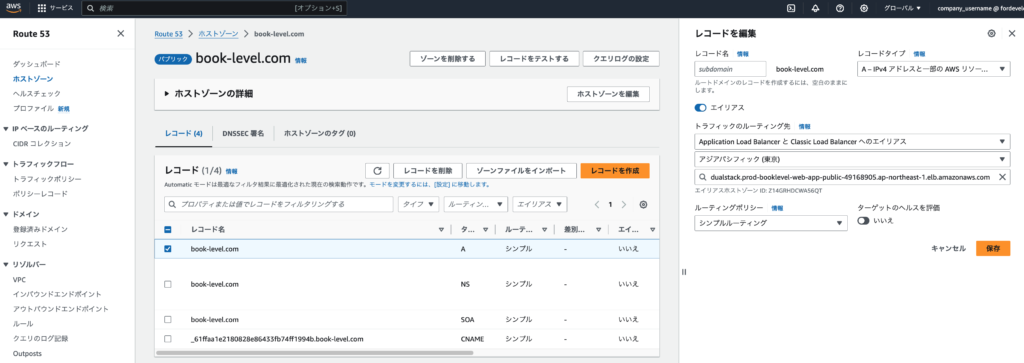
以下のように設定して、「保存」をクリックします。
SSL/TLS化ができているか動作確認
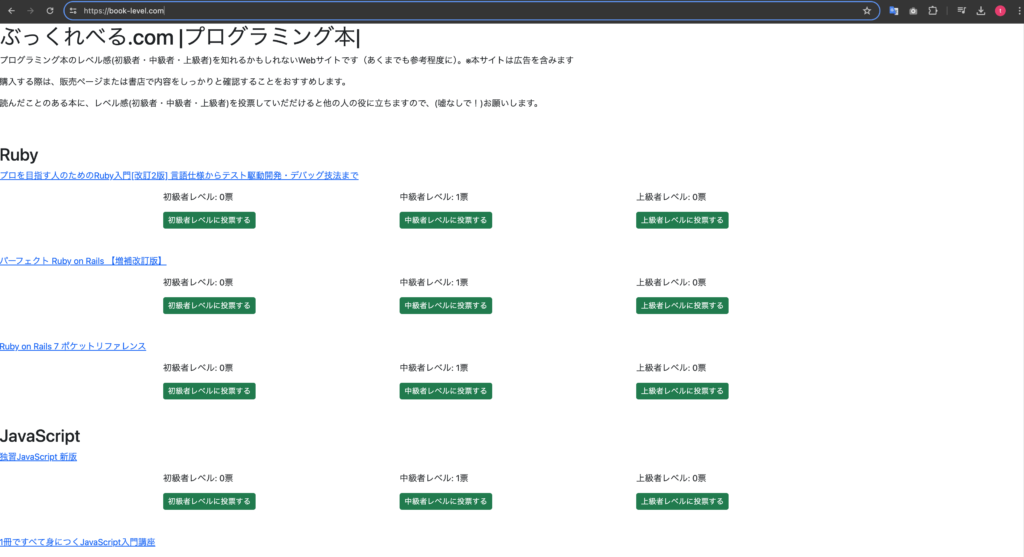
「https://ドメイン名」にアクセスできることを確認します。
※Elastic IPアドレスを解放する
Elastic IPアドレスは必要ないので解放します。
アクション「Elastic IPアドレスの関連付けの解放」をクリックします。

アクション「Elastic IPアドレスの解放」をクリックします。
これでElastic IPアドレスを解放できました。