Flutterの環境構築方法を解説します。
手順は下記の通りです↓
Flutterの環境構築方法
- 手順①:FlutterSDKのインストール
- 手順②:環境変数の追加(PATHを通す)
- 手順③:Android Studioのインストール
- 手順④:Android Studioのセットアップ
- 手順⑤:プロジェクトの立ち上げとVScodeの設定
- 手順⑥:実際に編集してみる
手順①:FlutterSDKのインストール
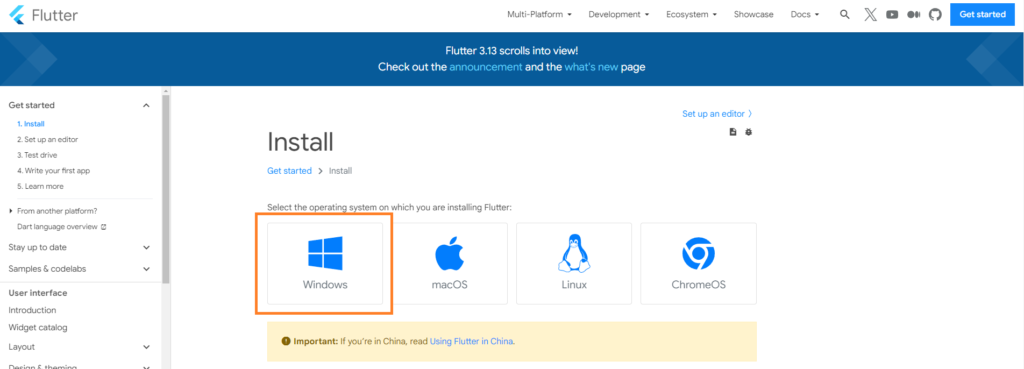
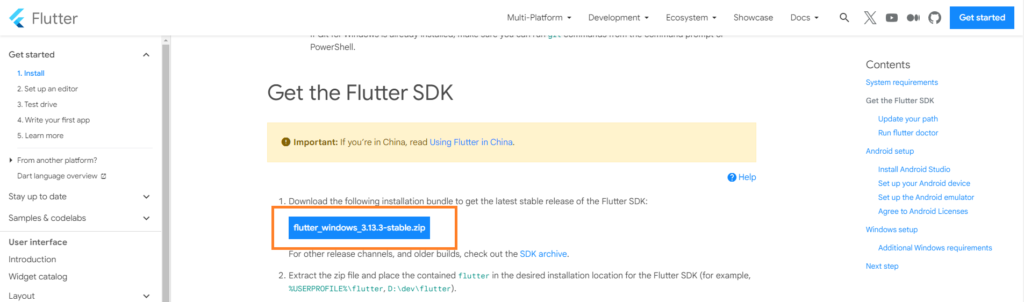
Flutter公式サイトを開きます。
「Get started」をクリックします。

「Windows」をクリックします。
「flutter_windows_3.13.3-stable.zip」をクリックします。
3.13.3の部分はインストールする時期によって変化します。気にしなくてOKです。
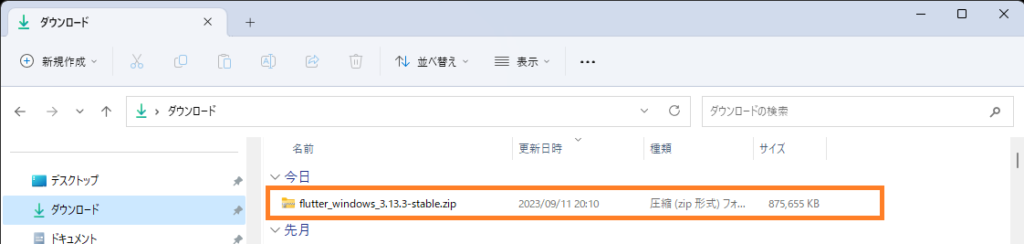
zipフォルダーがダウンロードされるので、解凍します。
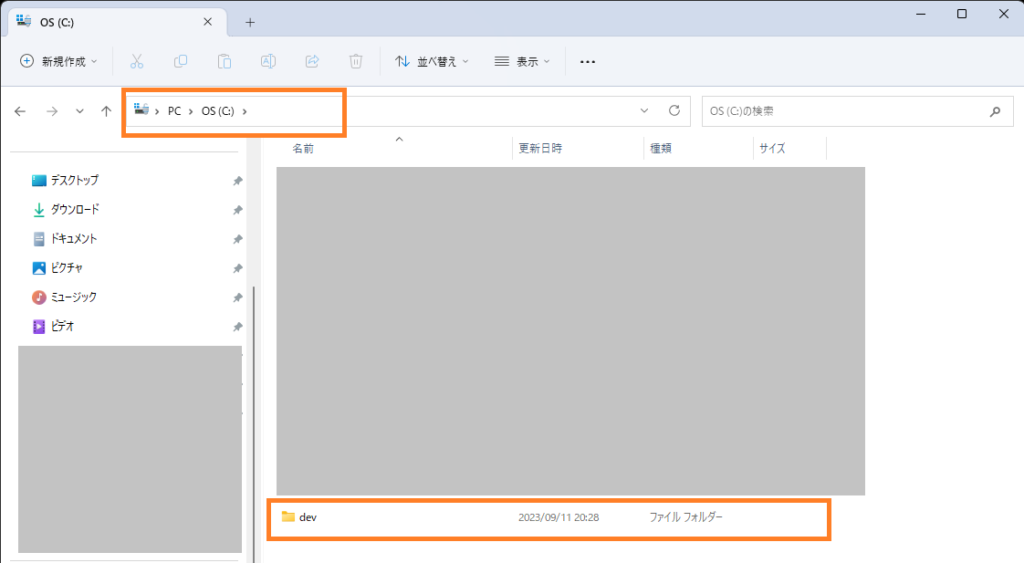
Cドライブに「dev」という名前で、フォルダーを作成します。
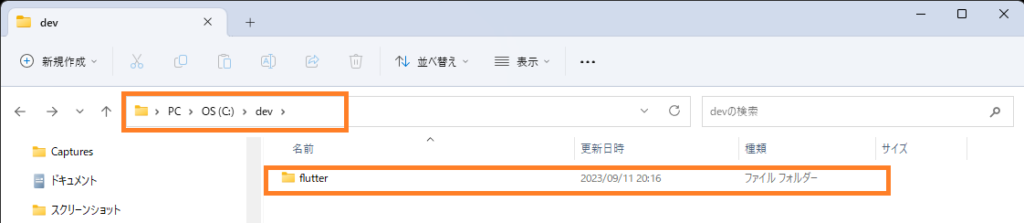
先ほど解凍した「flutter_windows_3.13.3-stable」フォルダーの中に「flutter」というフォルダーがあるので、devフォルダーの中に移動します。
手順②:環境変数の追加(PATHを通す)
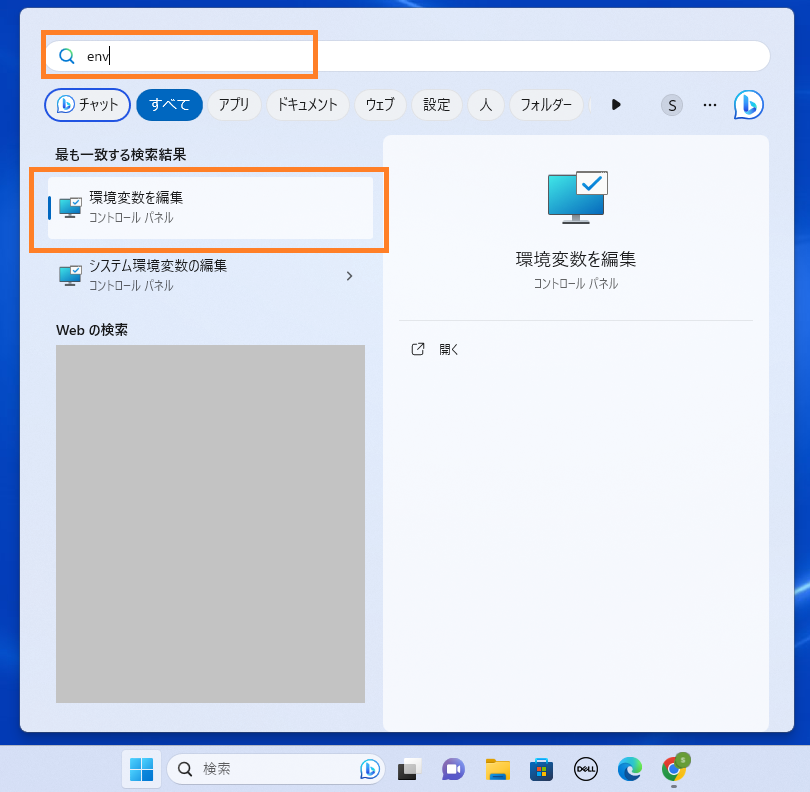
検索窓に「env」と入力し、「環境変数を編集」をクリックします。
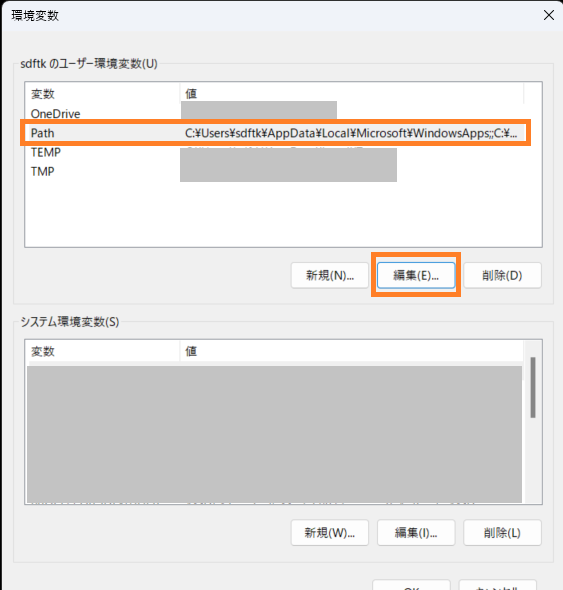
システムのプロパティが開くので「環境変数」をクリックします。

「Path」をクリックした後、「編集」をクリックします。
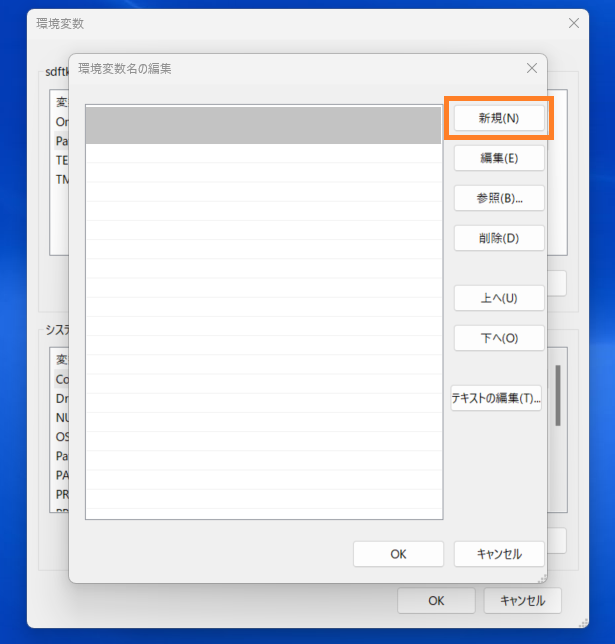
「新規(N)」をクリックします。
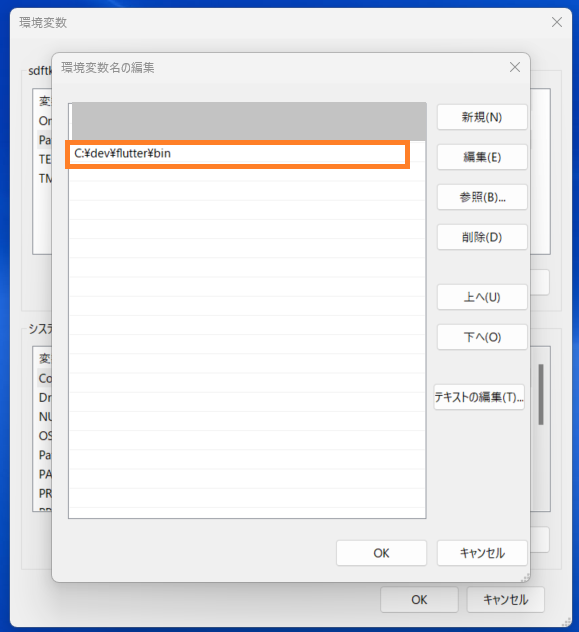
「C:\dev\flutter\bin」と入力します。タブはすべて「OK」で閉じます。
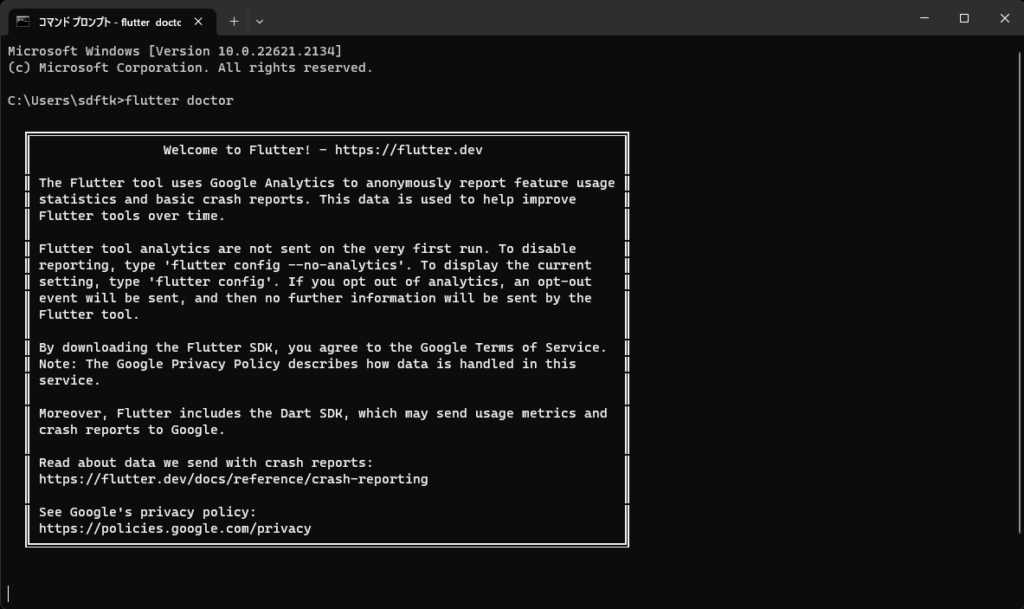
コマンドプロンプトを開き、以下のコマンドを実行します。
flutter doctor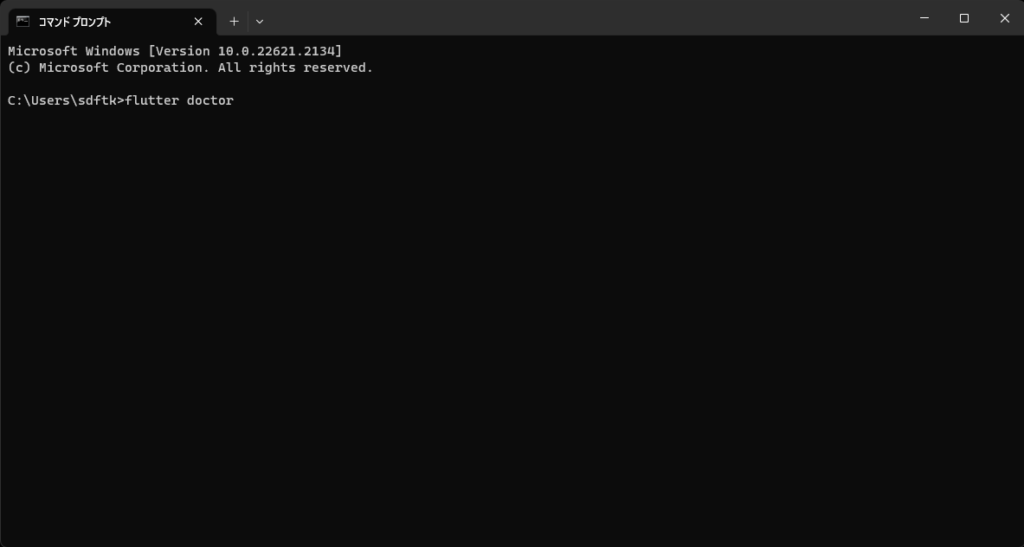
以下のような画面が表示されれば、Flutterのインストールは完了です。
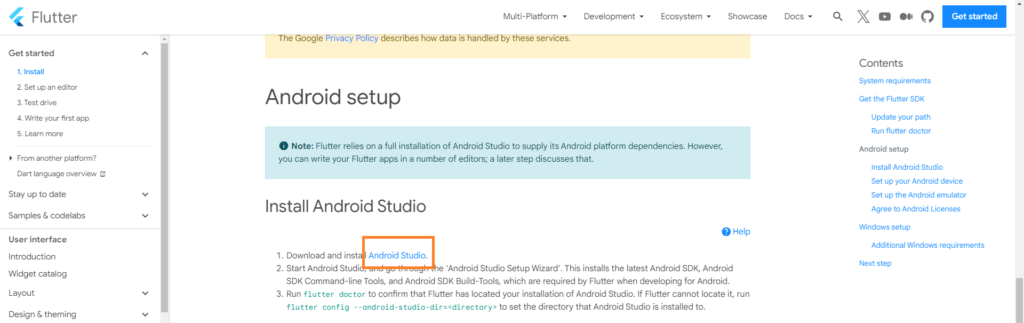
手順③:Android Studioのインストール
「Android Studio」をクリックします。
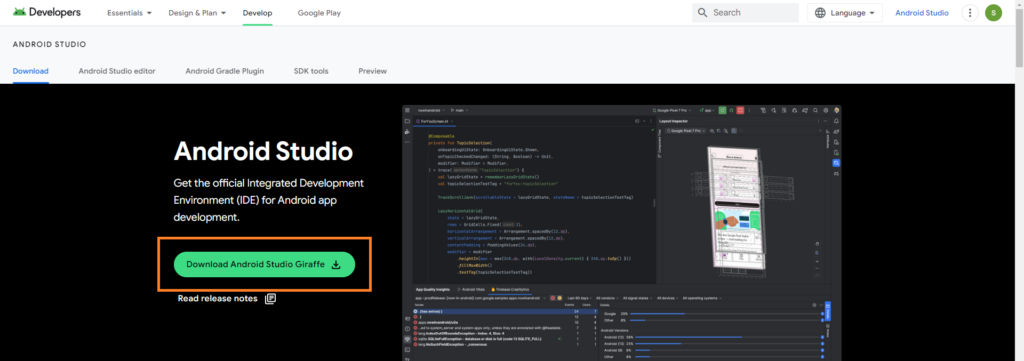
「Download Android Studio Giraffe」をクリックします。
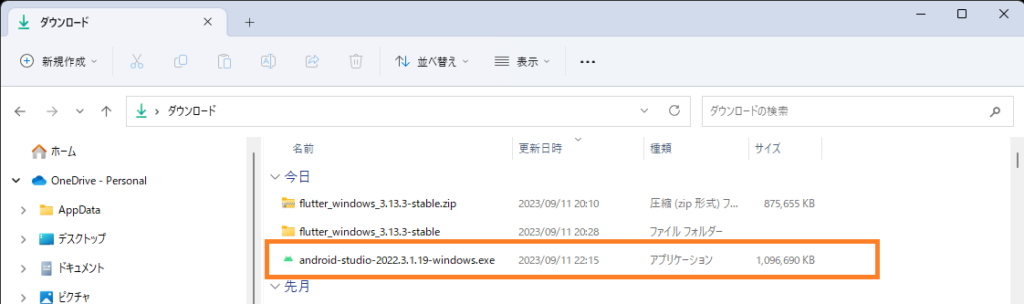
インストーラーを起動します。
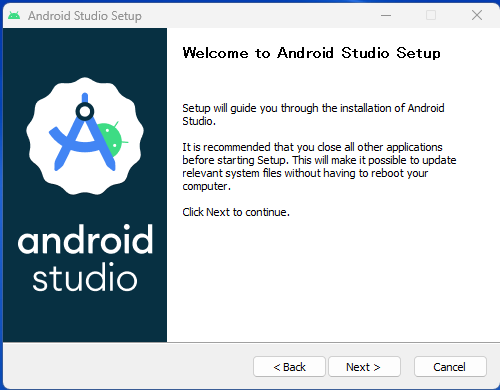
「Next >」をクリックします。
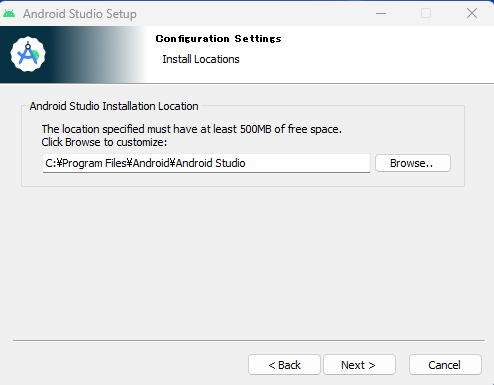
デフォルトのまま「Next >」をクリックします。

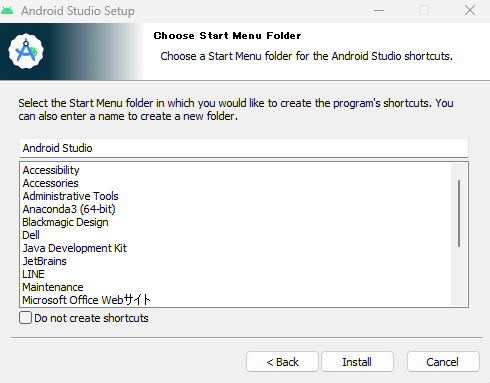
デフォルトのまま「Next >」をクリックします。
デフォルトのまま「Install」をクリックします。
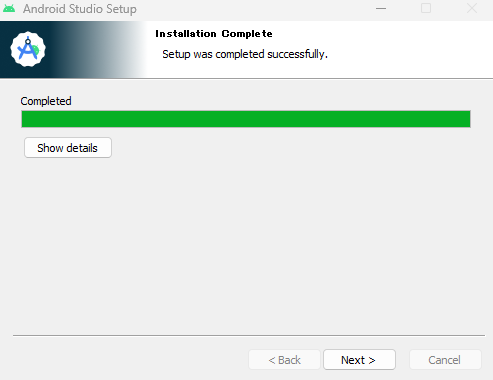
「Next >」をクリックします。
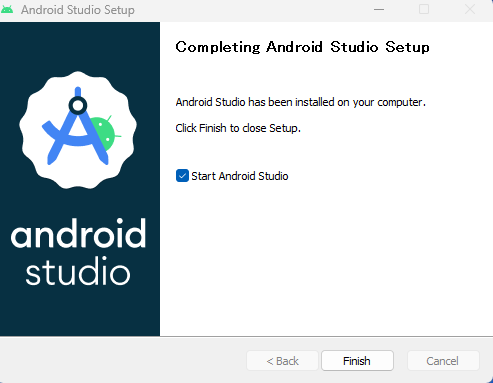
「Finish」をクリックします。
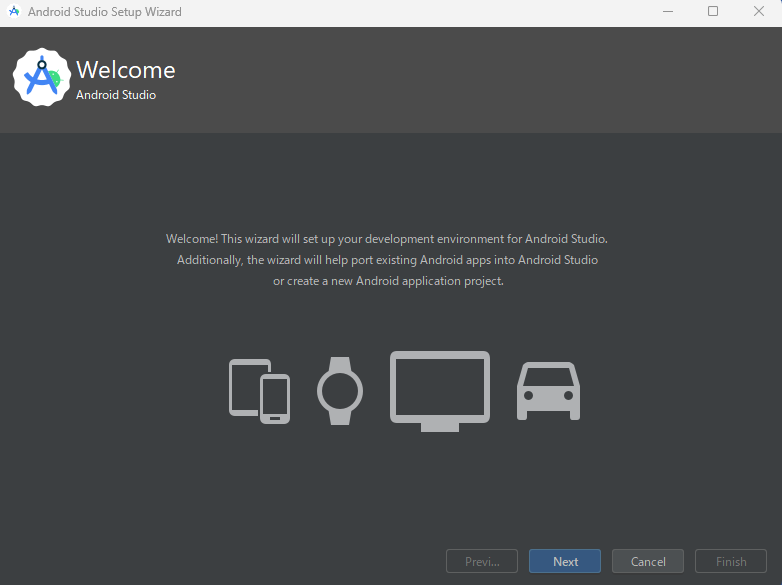
「Next」をクリックします。
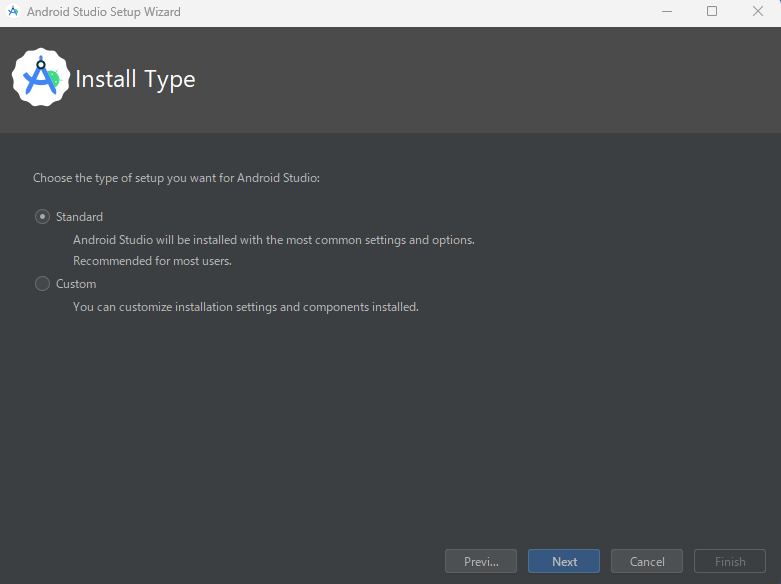
デフォルトのまま「Next」をクリックします。
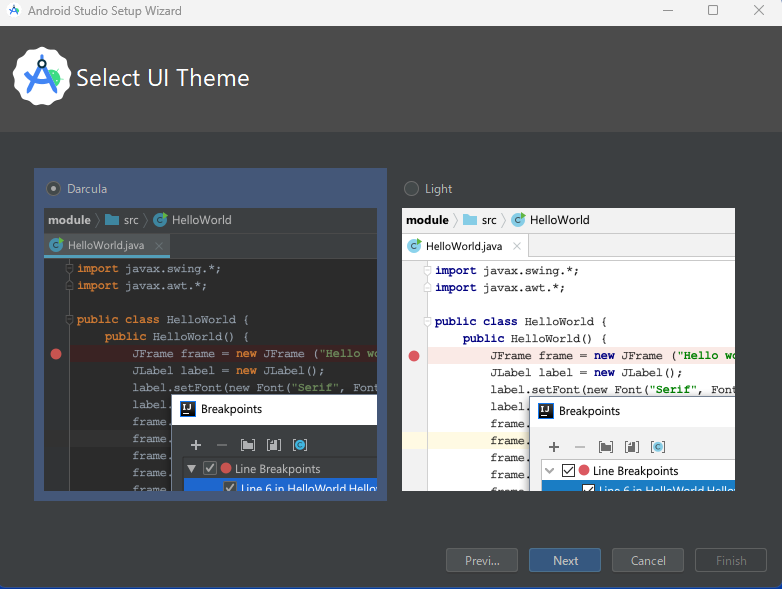
お好みの色を選択して「Next」をクリックします。
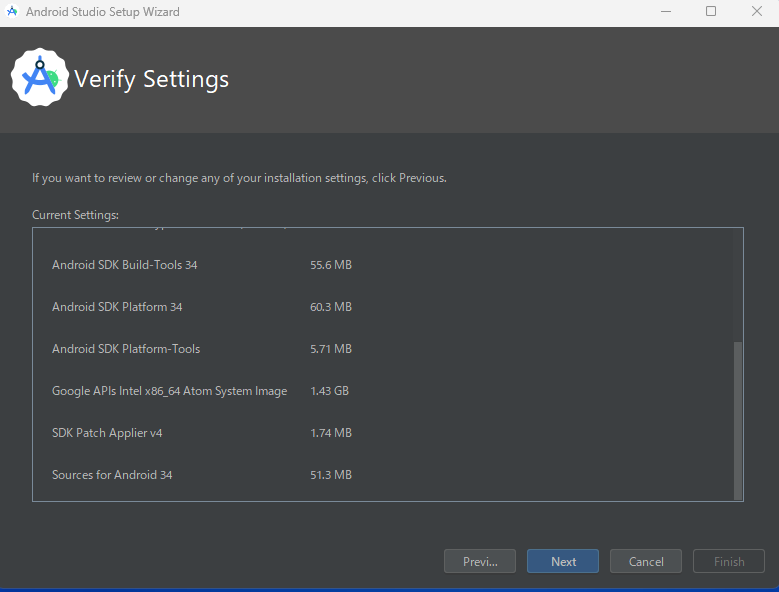
「Next」をクリックします。
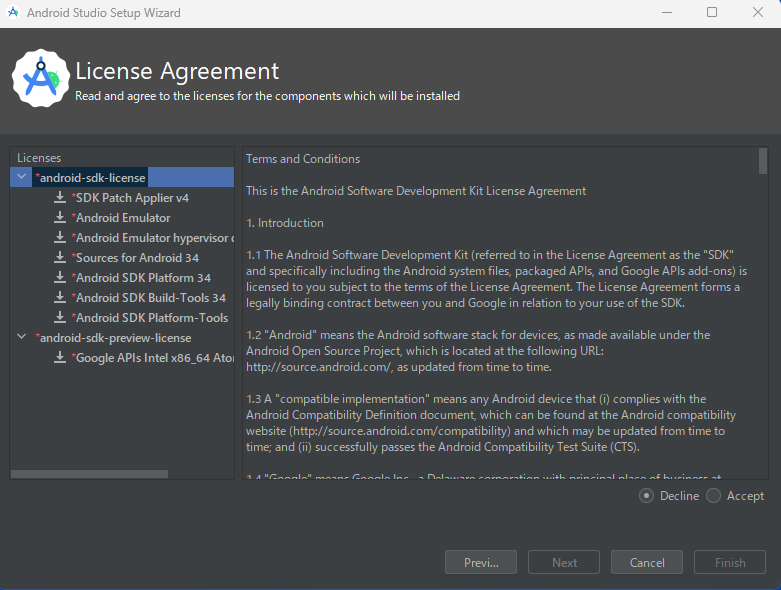
Acceptした後、「Finish」をクリックします。
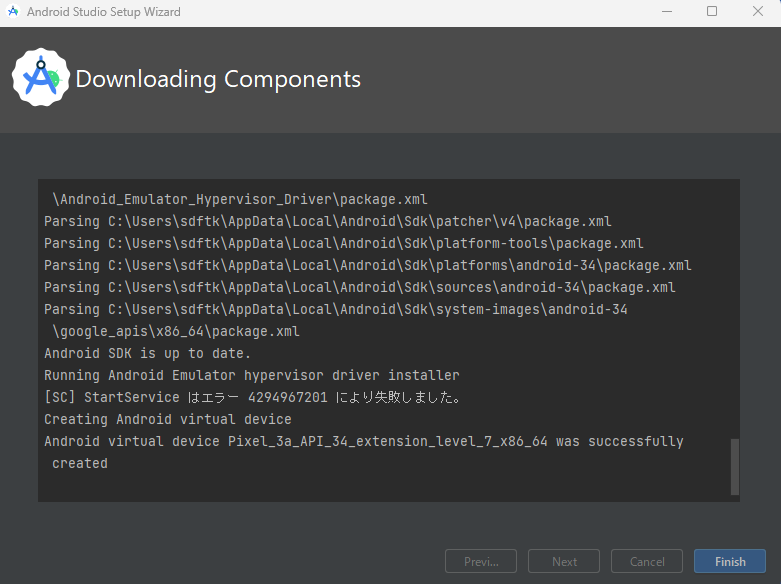
「Finish」をクリックします。
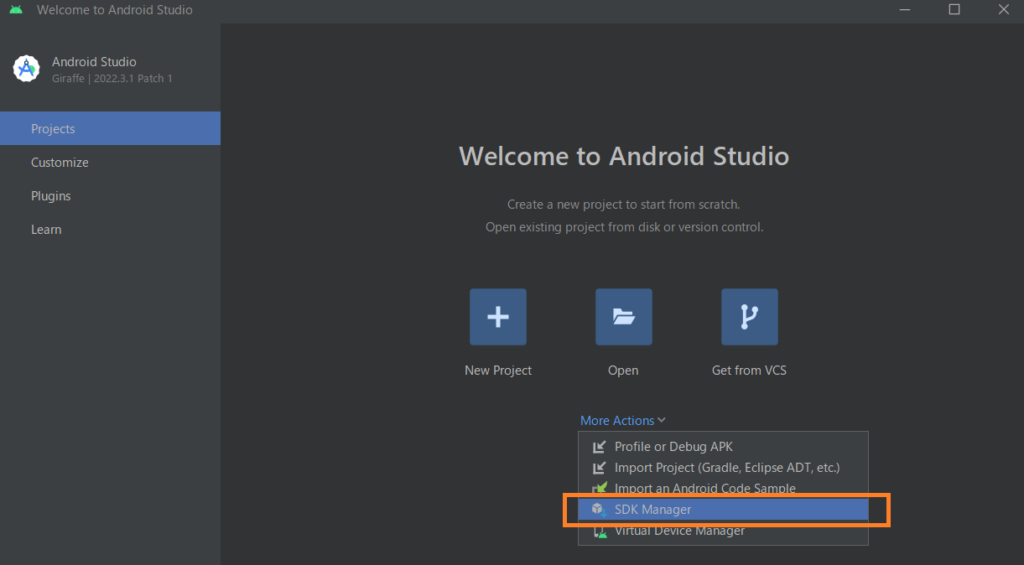
「More Actions」から「SDK Manager」をクリックします。
「SDK Tools」から以下4つにチェックを入れ、「Apply」をクリックします。
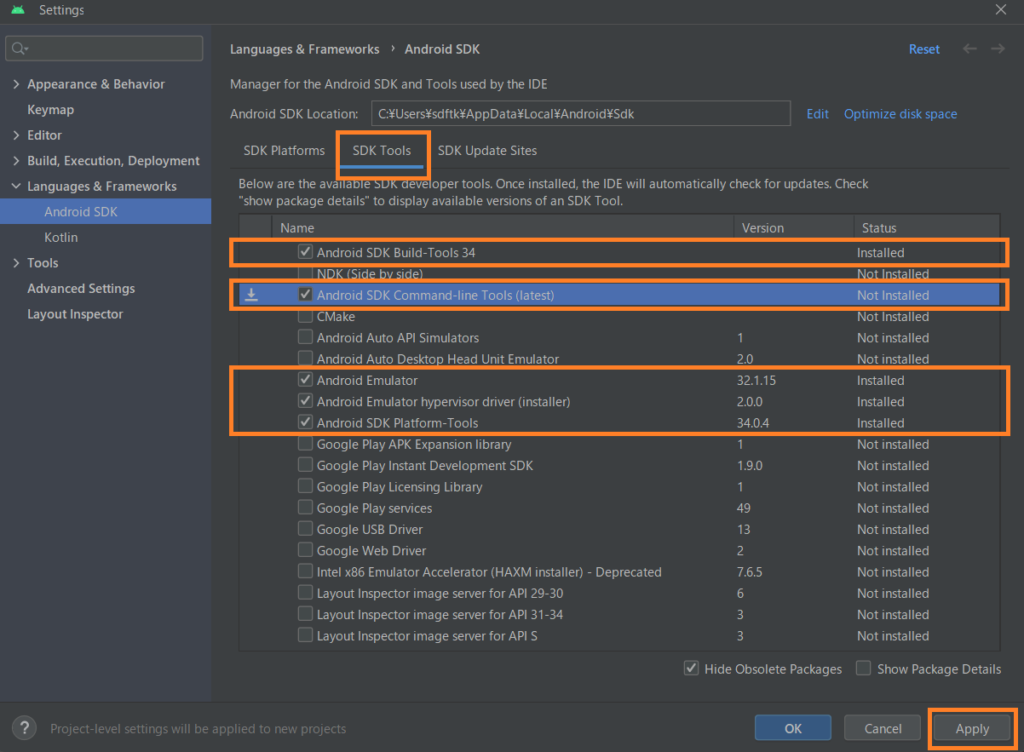
- Android SDK Build-Tools 34
- Android SDK Command-line Tools(latest)
- Android Emulator
- Android Emulator hypervisor driver(installer)
- Android SDK Platform-Tools
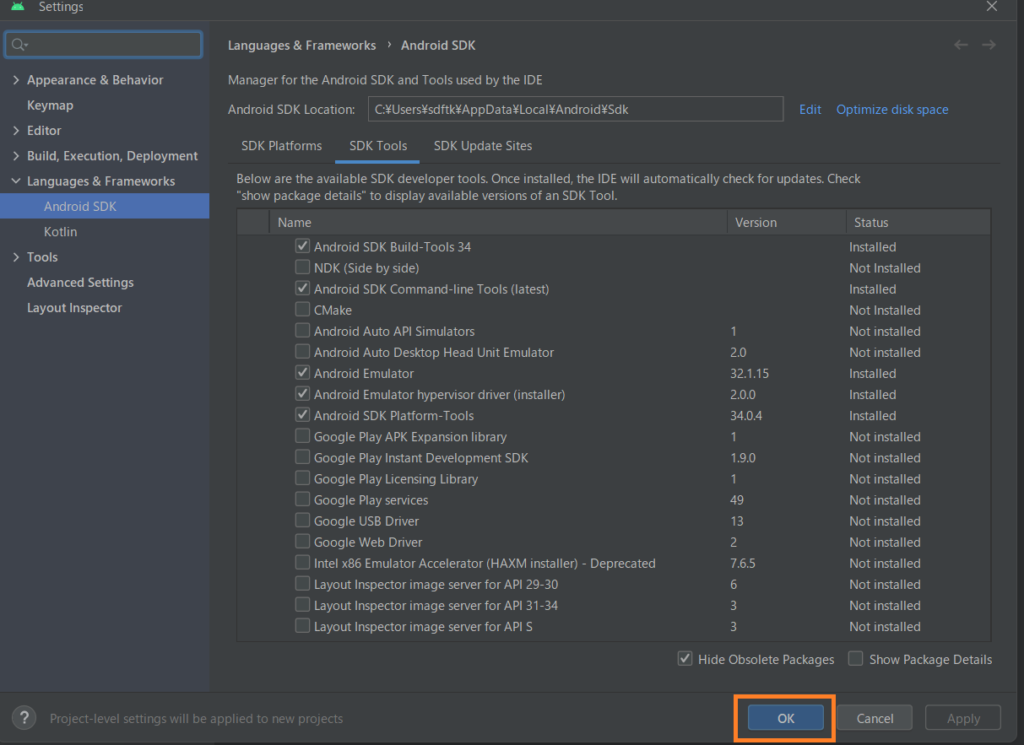
「OK」をクリックします。
手順④:Android Studioのセットアップ
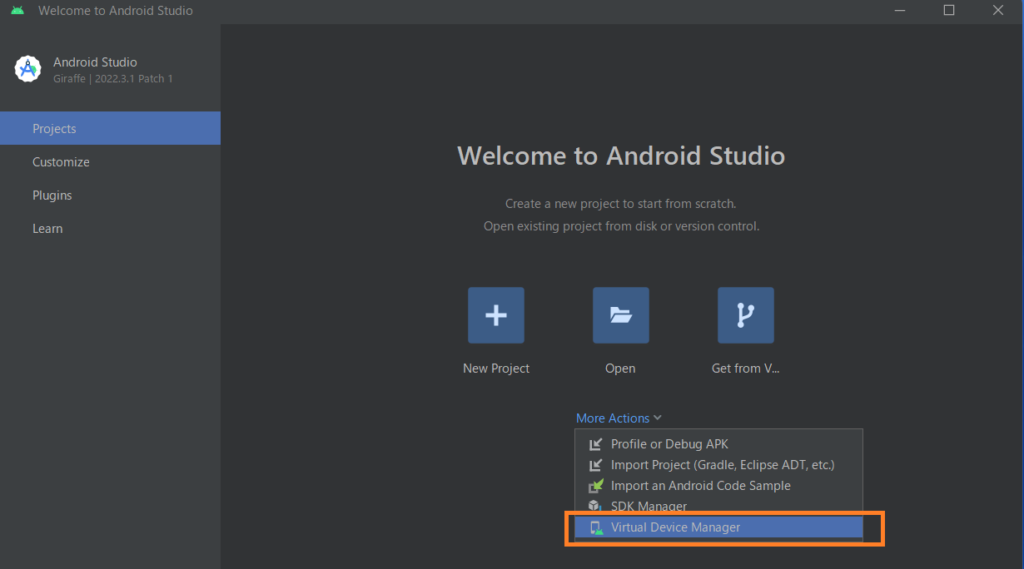
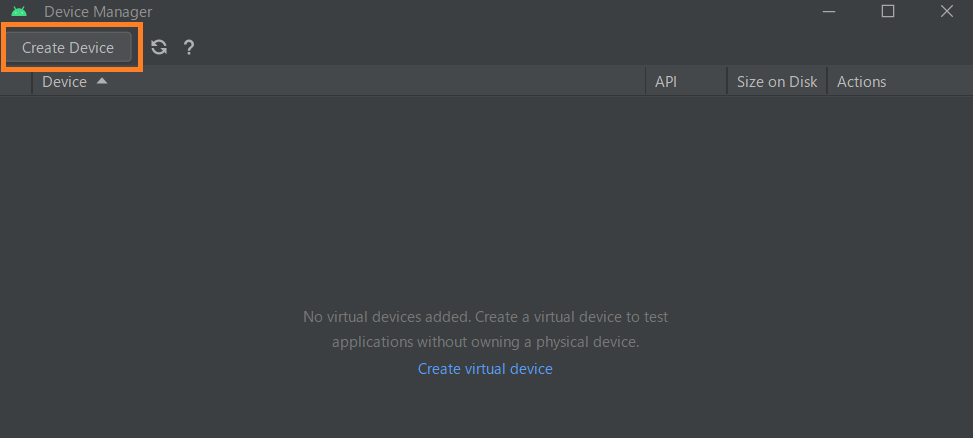
「More Actions」から「Virtual Device Manager」をクリックします。
「Create Device」をクリックします。
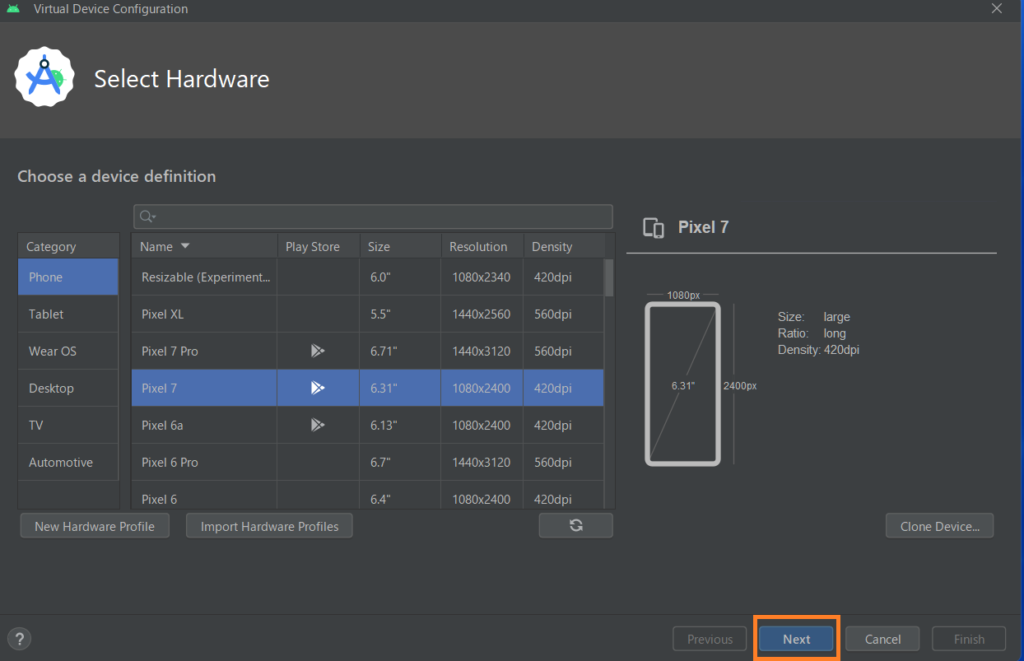
好きなテンプレートを選択できます。今回はPixel 7を選択しました。
「Next」をクリックします。
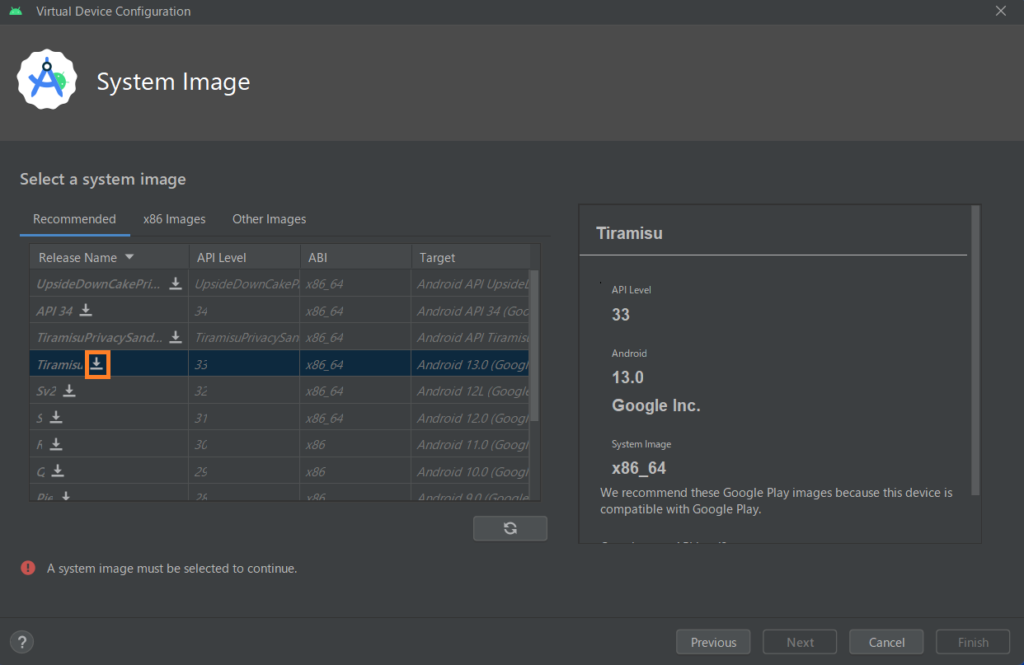
Tiramisuをダウンロードします。
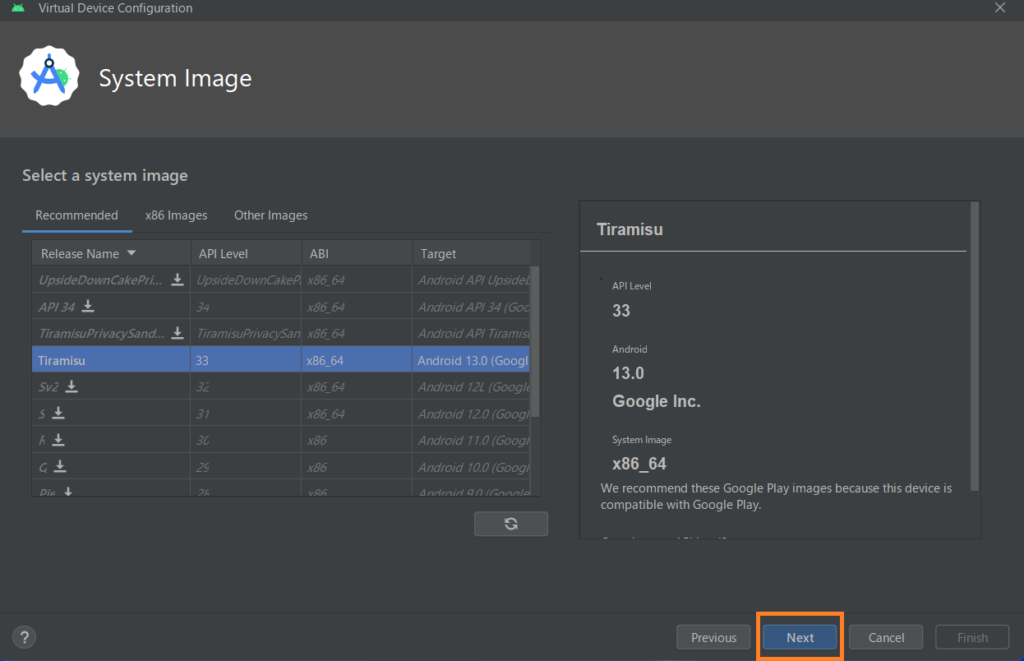
ダウンロードが完了したら「Next」をクリックします。
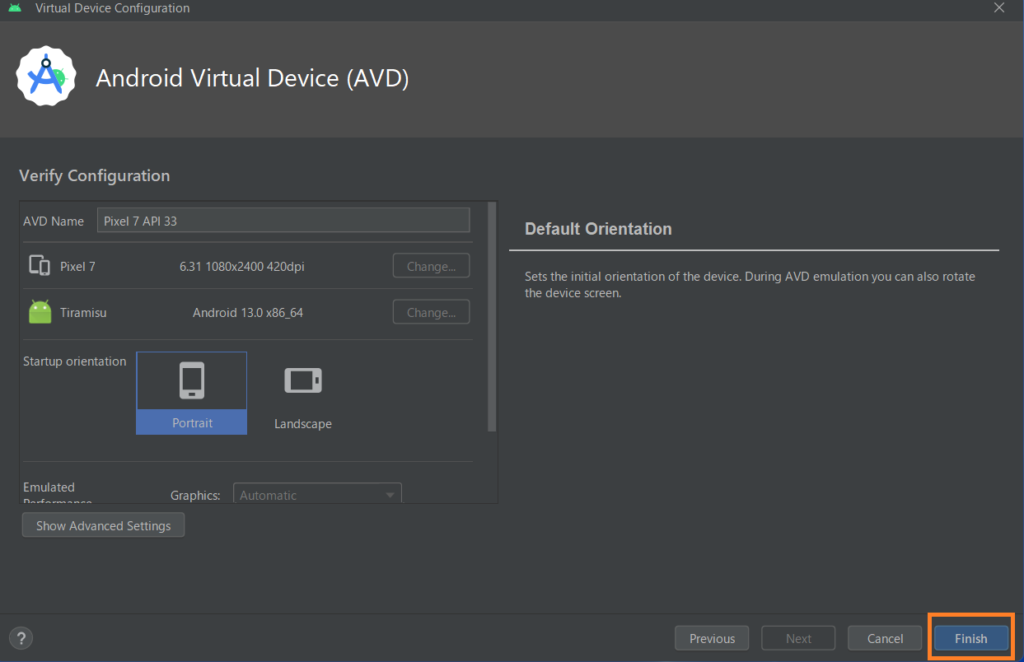
デフォルトのままで「Finish」をクリックします。
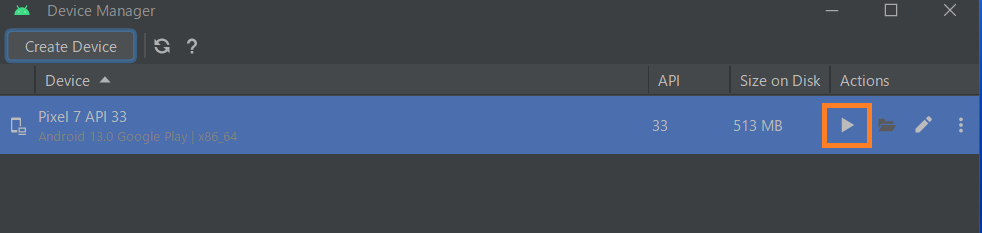
仮想デバイスが作成されました。
「▶」を押すと仮想デバイスが起動します。
仮想デバイスが起動しました。

「🔳」を押すと仮想デバイスが停止します。
手順⑤:プロジェクトの立ち上げとVScodeの設定
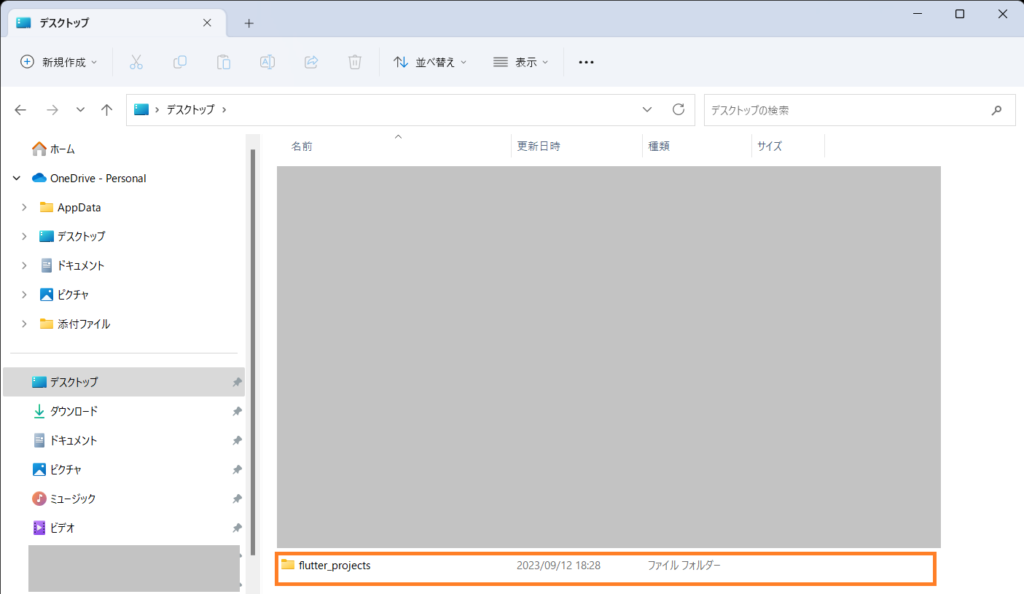
デスクトップに「flutter_projects」というフォルダーを作成します。
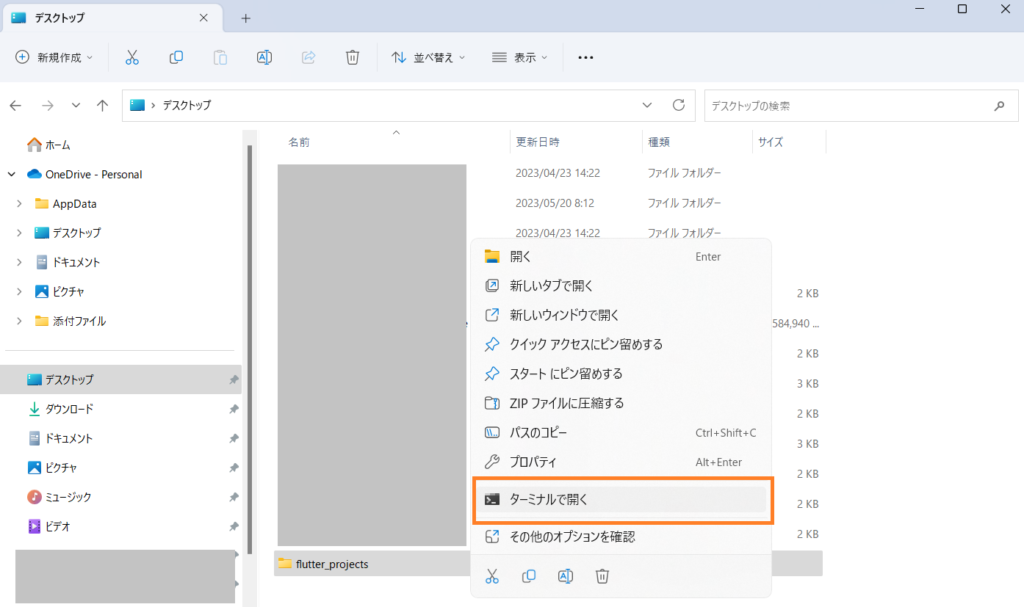
作成した「flutter_projects」フォルダーを右クリックして、「ターミナルで開く」をクリックします。
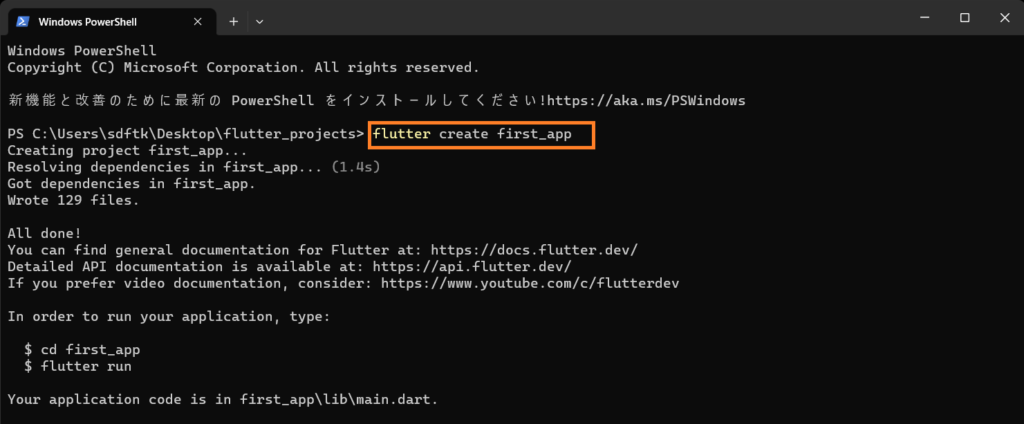
以下のコマンドを入力します。first_appの部分はプロジェクト名です。
flutter create first_app以下のような画面が表示されればOKです。
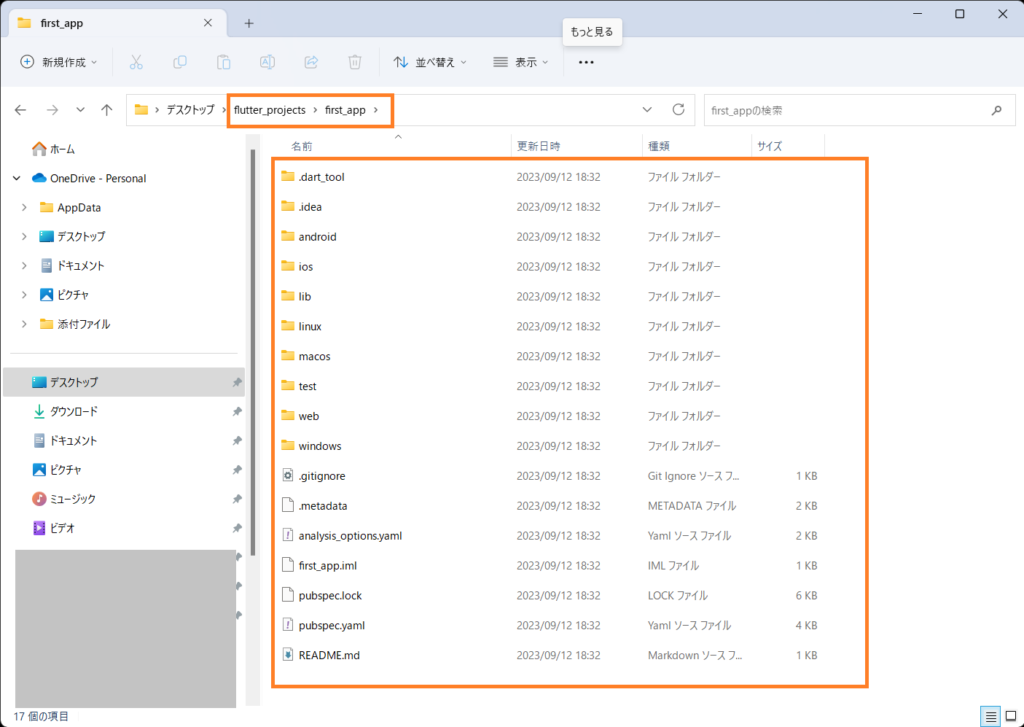
「flutter_projects」フォルダーの中に「first_app」フォルダーが作成され、その中に以下のようなファイルが作成されます。
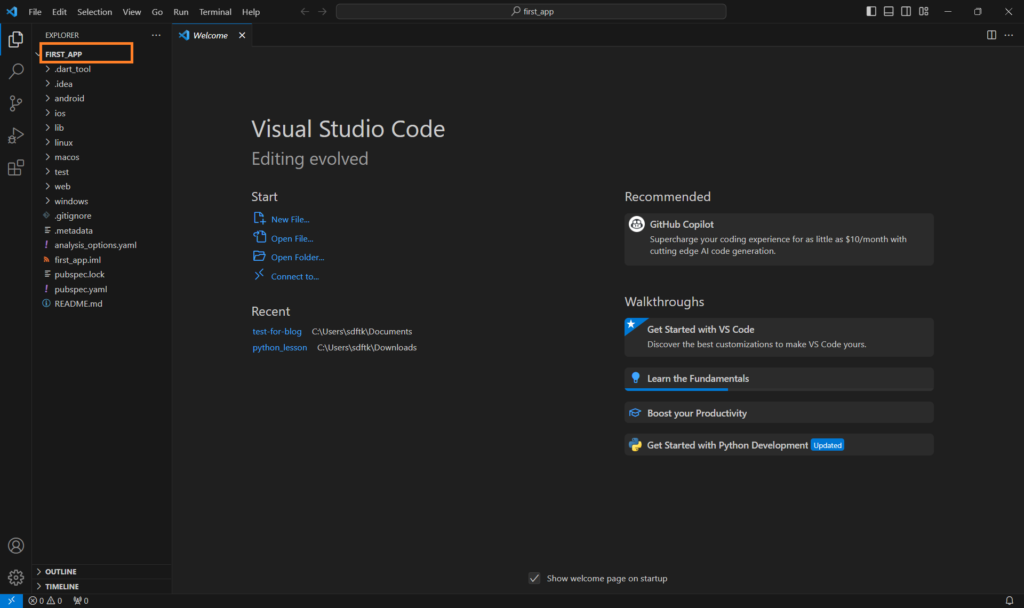
VScodeで「first_app」フォルダーを開きます。
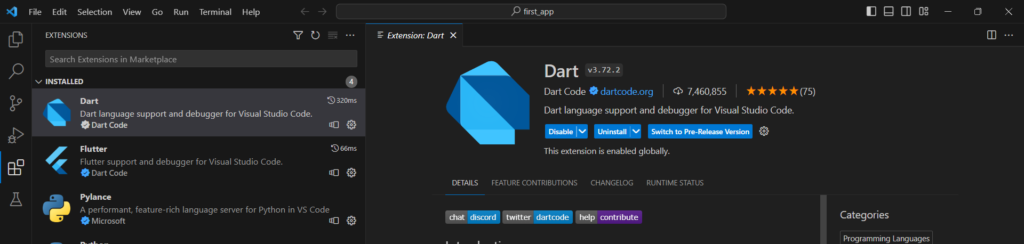
拡張機能「Flutter」をインストールします。
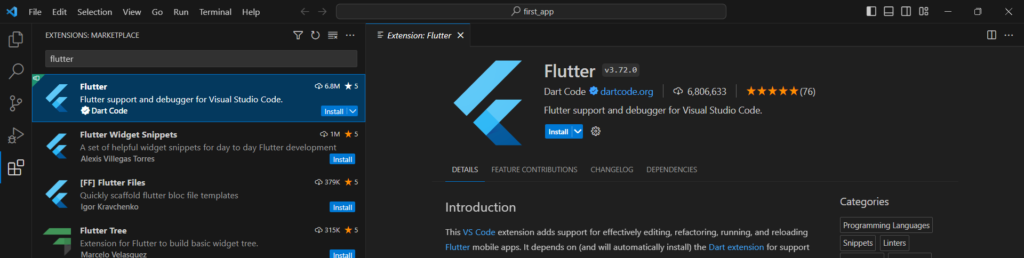
拡張機能「Flutter」をインストールすると拡張機能「Dart」も自動的にインストールされます。
「View」から「Command Palette」をクリックします。
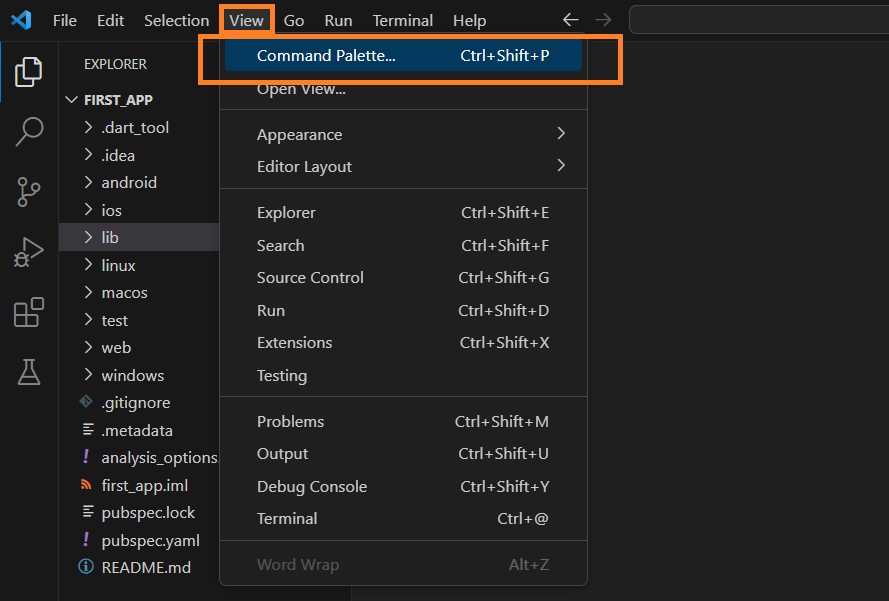
「Flutter:Launch Emulator」をクリックします。

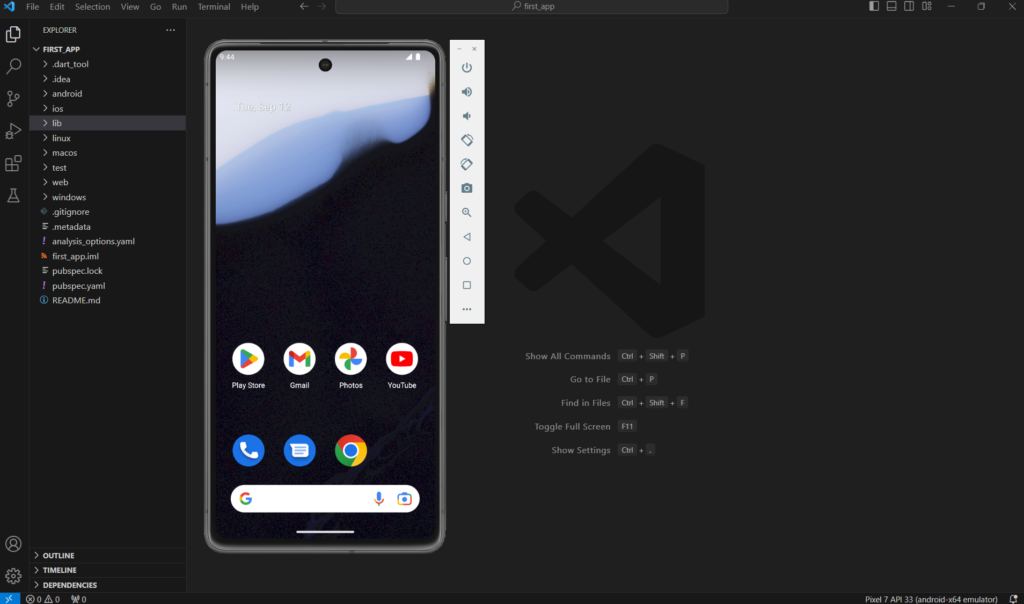
Android Studioで作成した。仮想デバイスを選択します。
今回はPixel 7 API 33です。

以下のように仮想デバイスが起動しました。
手順⑥:実際に編集してみる
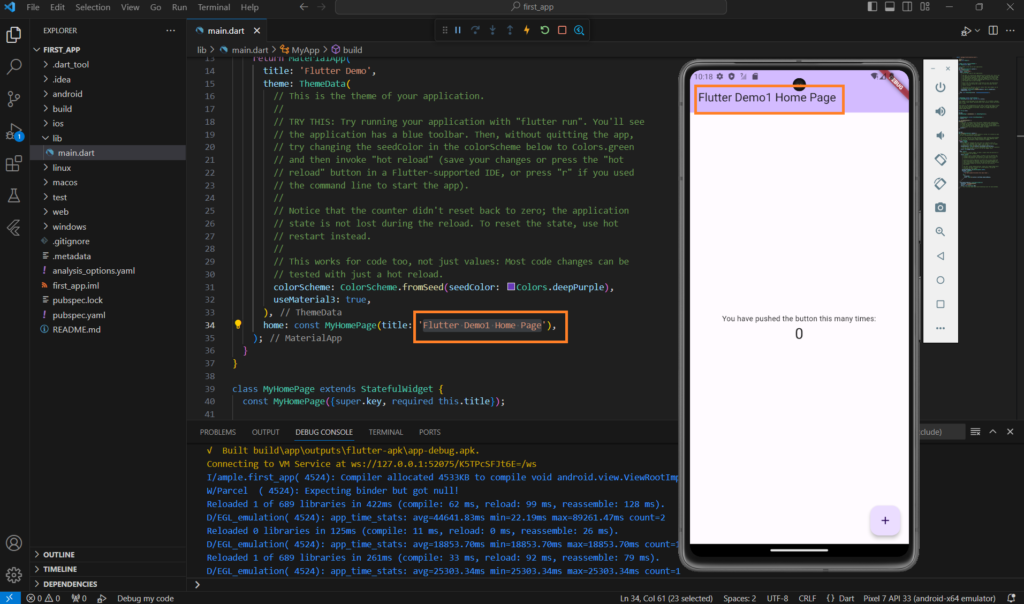
「main.dart」ファイルを開きます。
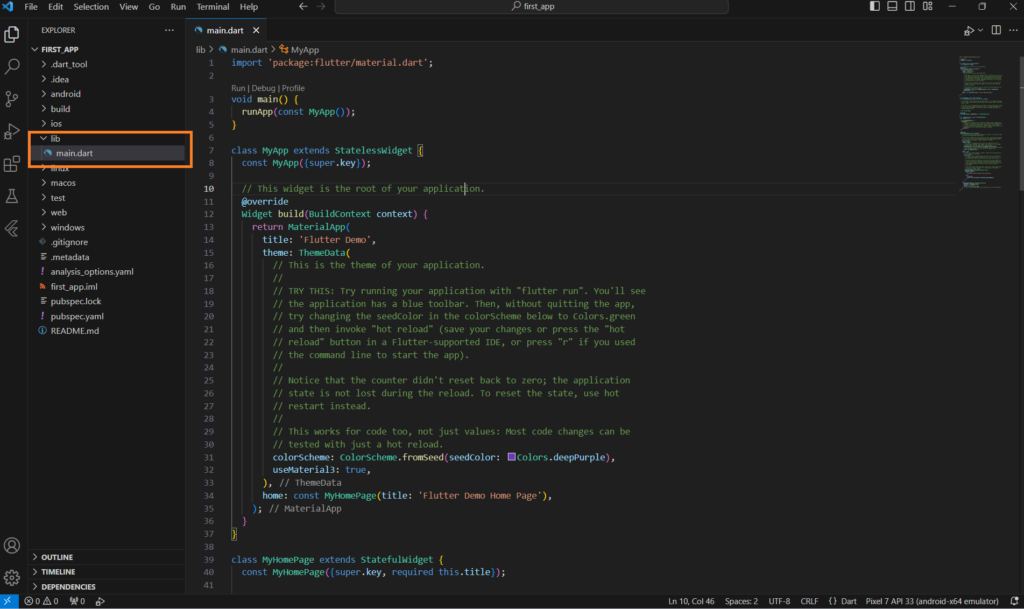
「Run」から「Run Without Debugging」をクリックします。

仮想デバイスにmain.dartの内容が表示されます。
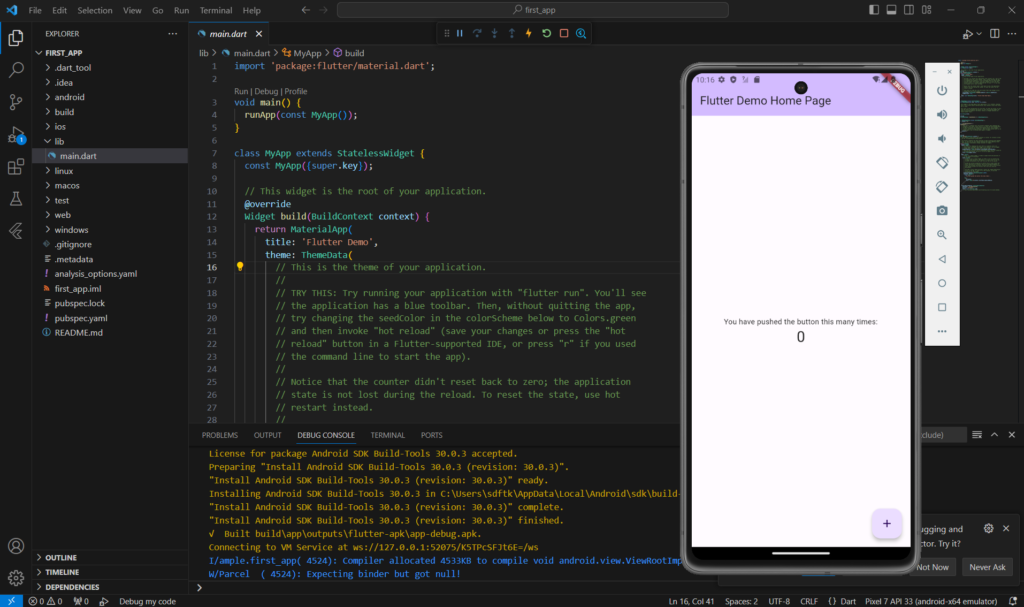
“Flutter Demo Home Page”を”Flutter Demo1 Home Page”に変更して、保存(ctrl + s)すると仮想デバイスにも変更が反映されます。