Linux(Ubuntu)上でVSCodeを使う方法を解説します。
目次
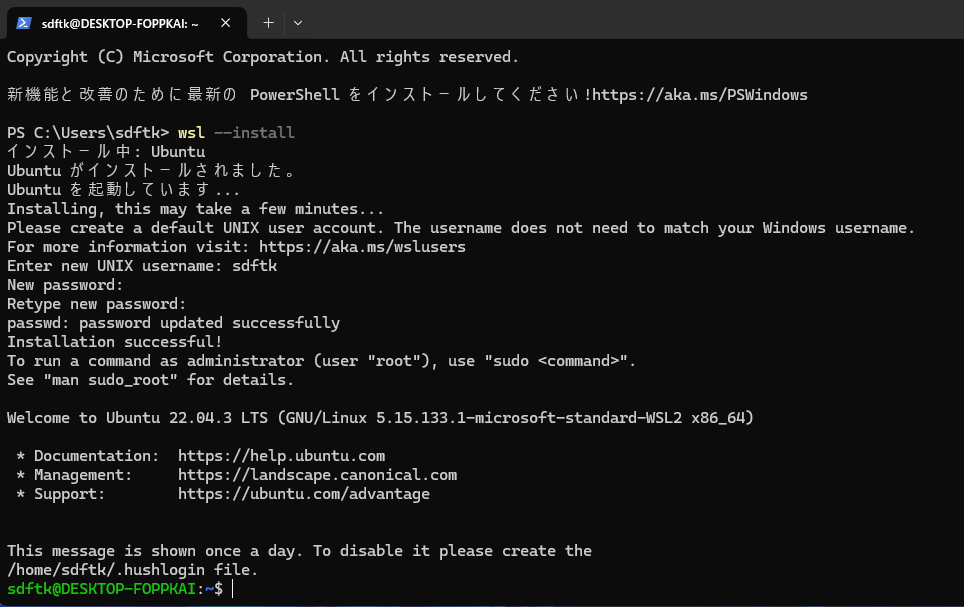
WSL2、Ubuntuのインストール
WSL2、Ubuntuのインストールします。
WSL2、Ubuntuをインストール方法は以下の記事を参照してください。
東京に住むIT系会社員のBLOG

WSL2、Ubuntuをインストールする方法 | 東京に住むIT系会社員のBLOG
WSL2、Ubuntuをインストールする方法を解説します。 PowerShellを起動します。 以下のコマンドを実行し、WSL2、Ubuntuをインストールします。 wsl –install usernameとpas…
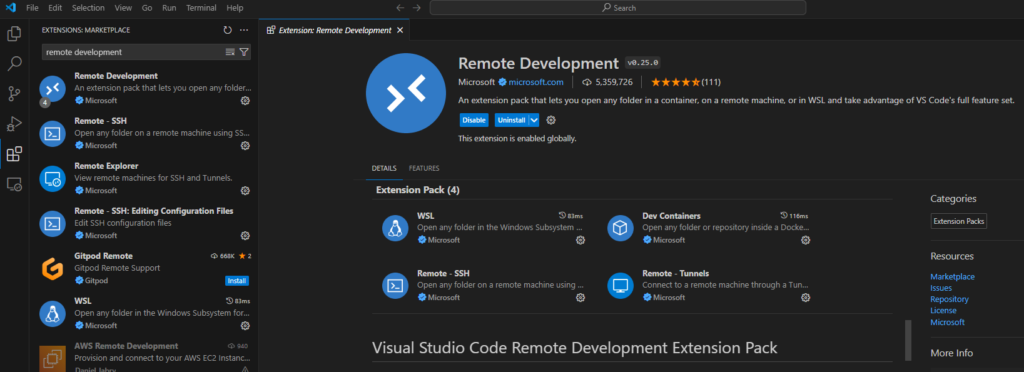
VSCode拡張機能「Remote Development」のインストール
VSCode拡張機能「Remote Development」をインストールします。
VSCodeとLinux(Ubuntu)を接続
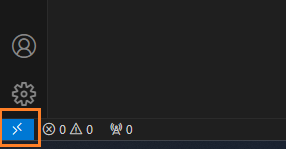
左下のボタンをクリックします。
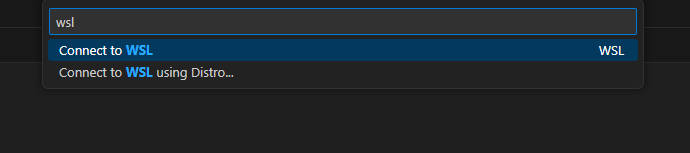
「Connect to WSL」をクリックします。
左下に「WSL:Ubuntu」と表示されればOKです。
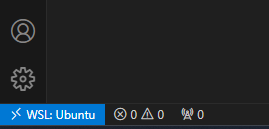
これで、Linux(Ubuntu)上でVSCodeを使えるようになりました。