新規プロジェクト作成時のGit/GitHubの操作を解説します。
.gitファイルがない場合は、以下のコマンドを実行します。
git init以下のコマンドを実行し、変更をステージに追加します。
git add -A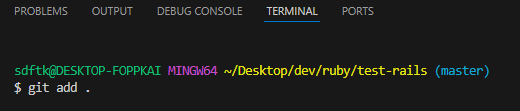
以下のコマンドを実行し、変更をステージに追加します。
git commit -m "first commit"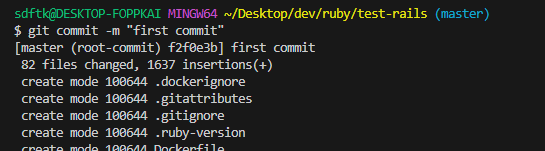
GitHubでリモートリポジトリを作成します。GitHubでリモートリポジトリを作成する方法は以下の記事を参照してください。
東京に住むIT系会社員のBLOG


GitHubでリモートリポジトリを作成する方法 | 東京に住むIT系会社員のBLOG
GitHubでリモートリポジトリを作成する方法を解説します。 まず「Your repositories」に移動します。 「New」をクリックします。 「Repository name」を入力して、「Create…
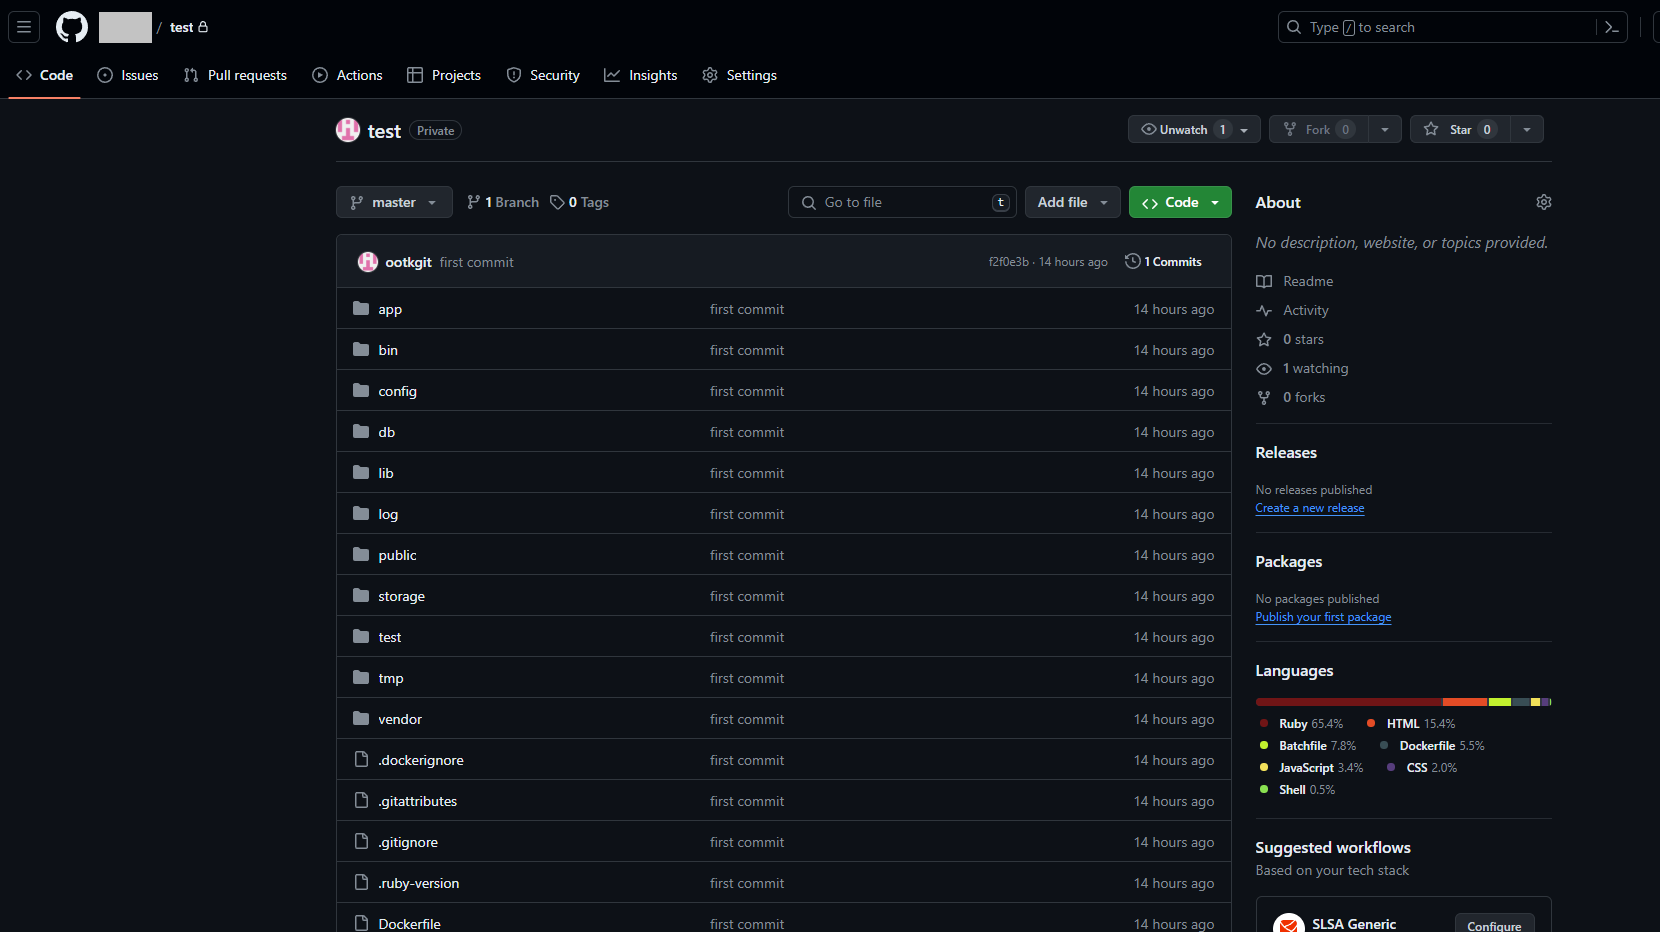
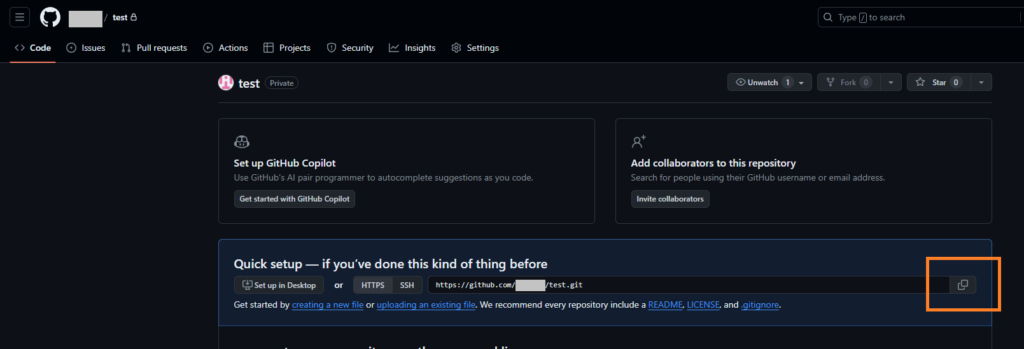
リモートリポジトリ(GitHub)のurlをコピーします。
以下のコマンドを実行し、リモートリポジトリ(GitHub)とリモート名を関連付けます。
git remote add リモート名 リモートリポジトリurl
以下のコマンドを実行し、ローカルリポジトリの変更内容をリモートリポジトリ(GitHub)にプッシュします。
git push -u リモート名 ブランチ名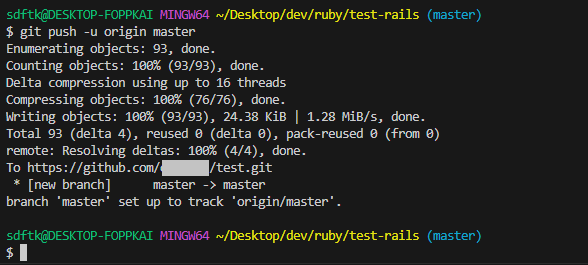
ローカルリポジトリの変更内容をリモートリポジトリ(GitHub)にプッシュできました。
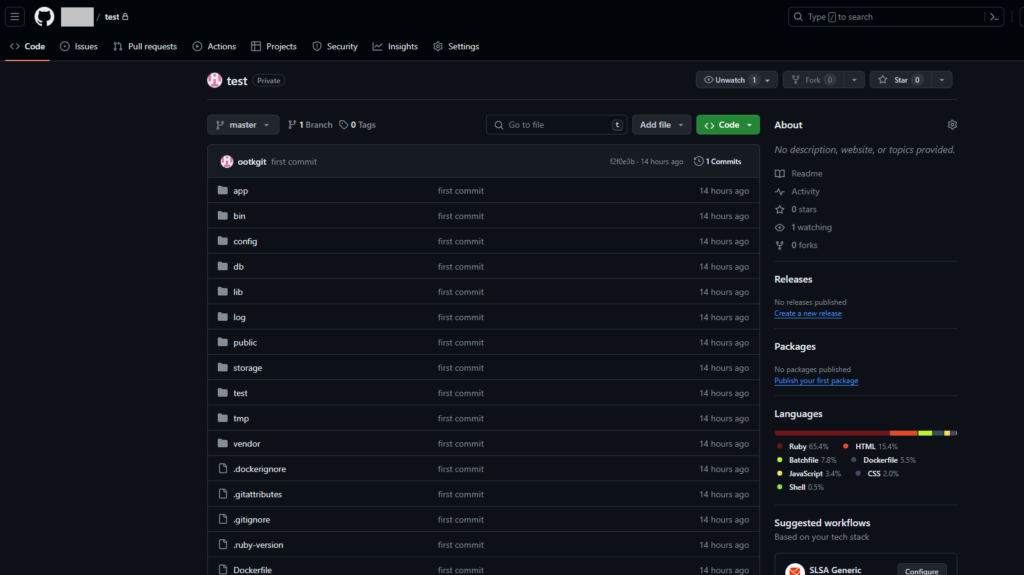
これで新規プロジェクト作成時のGit/GitHubの操作完了です。